Appearance
Create Your First Experience
This walks through starting a brand-new experience, from the Create button to the editor.
Where to build
The Create experience button currently appears on Mac and iPad – the platforms suited to building. iPhone and Apple Vision Pro are mainly for viewing experiences.
1. Start from a template, or from scratch
Click Create experience, and you're shown a template picker:
- Custom – a blank experience built entirely from scratch. The best choice when you're learning, or when no template fits.
- Templates – ready-made starting points that come with content and logic already set up, for common use cases: image tracking, face tracking, a showroom, location-based AR, a physics playground, a puzzle, architecture, spatial audio, a scavenger hunt, visual effects / spatial video, custom materials, a mixed-reality portal, and more.
The template list grows over time, so check back for new ones.
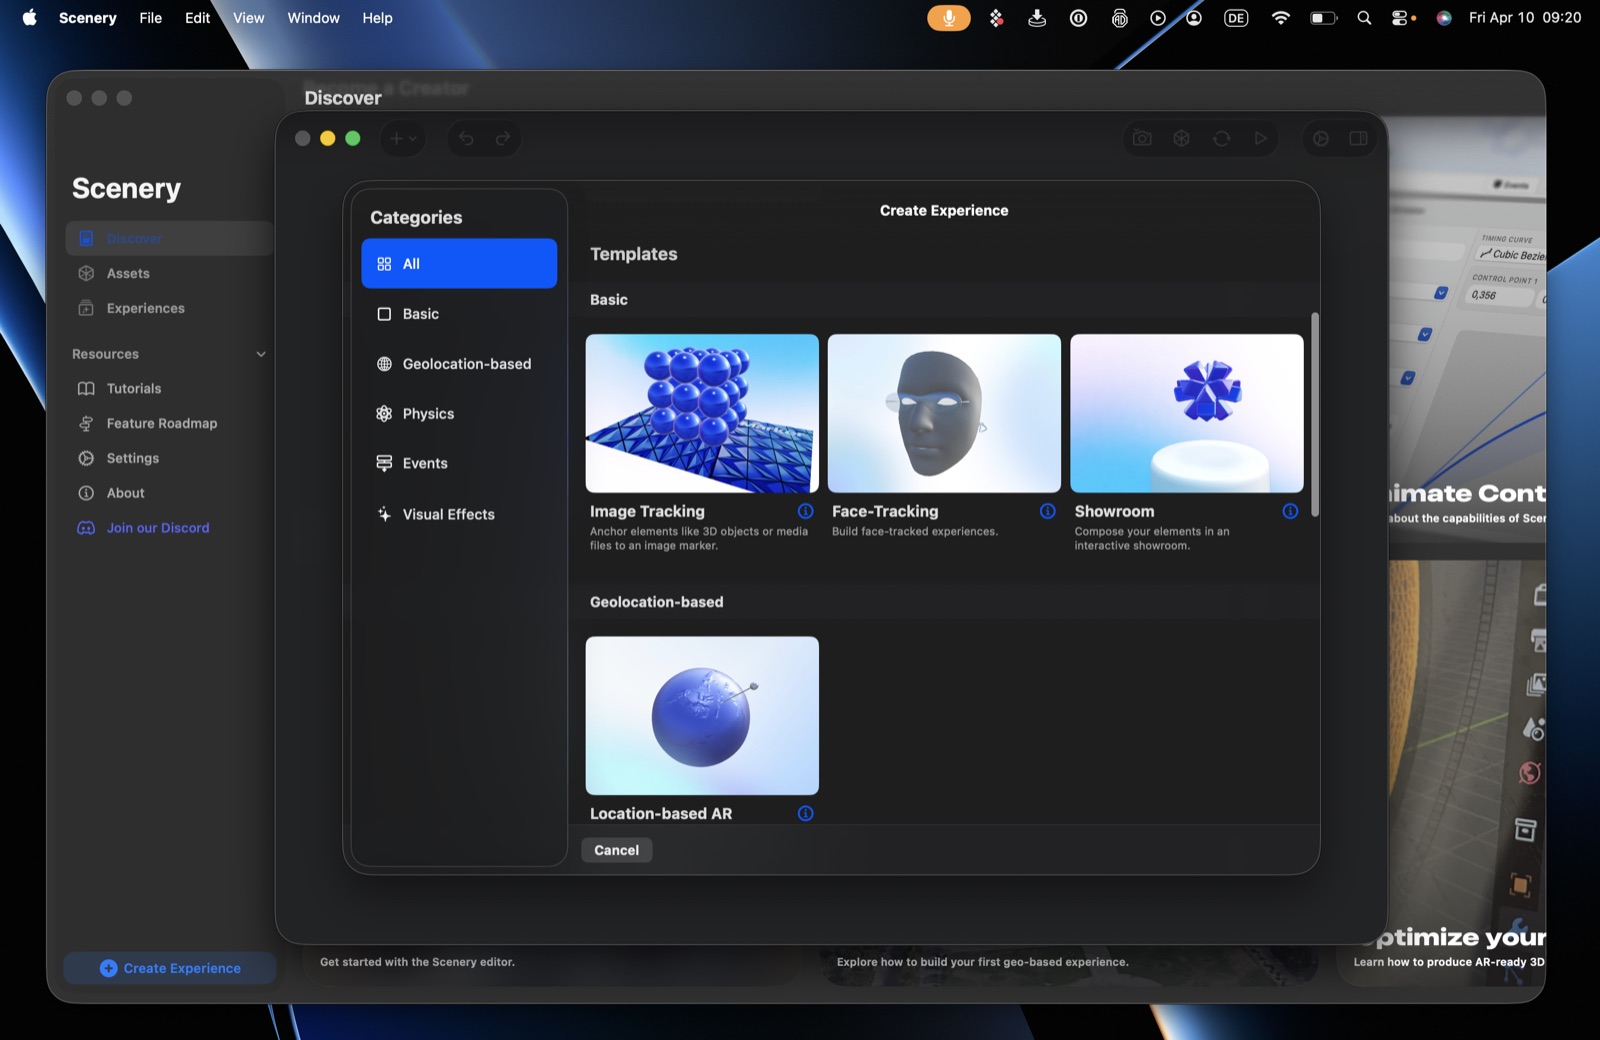 The Create Experience template picker.
2. Choose a tracking context
Next, set the experience's tracking context – how it understands and anchors to the world (the space around the user, a real-world location, an image, or a face).
This choice is permanent
You can only set the context at the very beginning, and it can't be changed later. Make sure it's right before you continue. Most experiences should use World-Tracking, the most flexible and compatible context.
As you select a context, a compatibility indicator shows which platforms support it.
3. Create and enter the editor
Click Create, and your new experience opens in the editor, where you place content, anchor it to the world, and make it interactive.
Next: Understanding the editor.