Appearance
Editor Overview
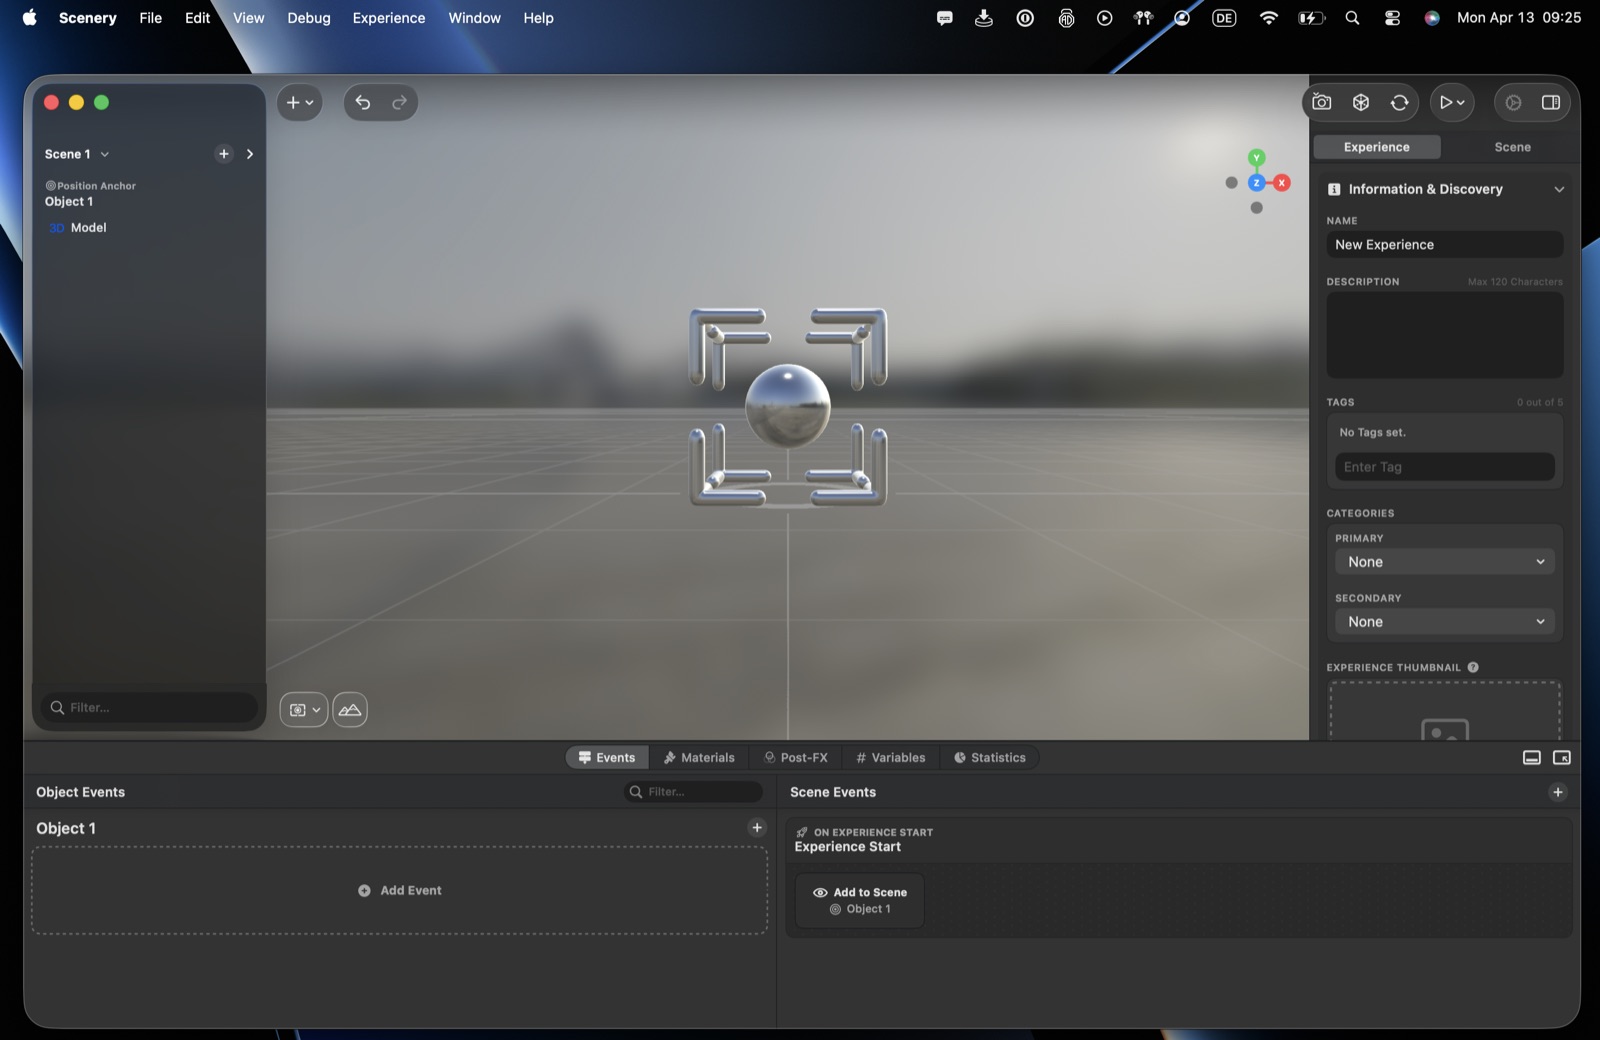
A quick tour of where things live in the editor. You arrive here after creating an experience and choosing its tracking context.
Around the canvas
The numbers below match the numbered points on the screenshot.
- Hierarchy (left) – the objects in the current scene.
- Add (+) (top) – add content to the scene.
- Undo / Redo – step back and forth through your changes.
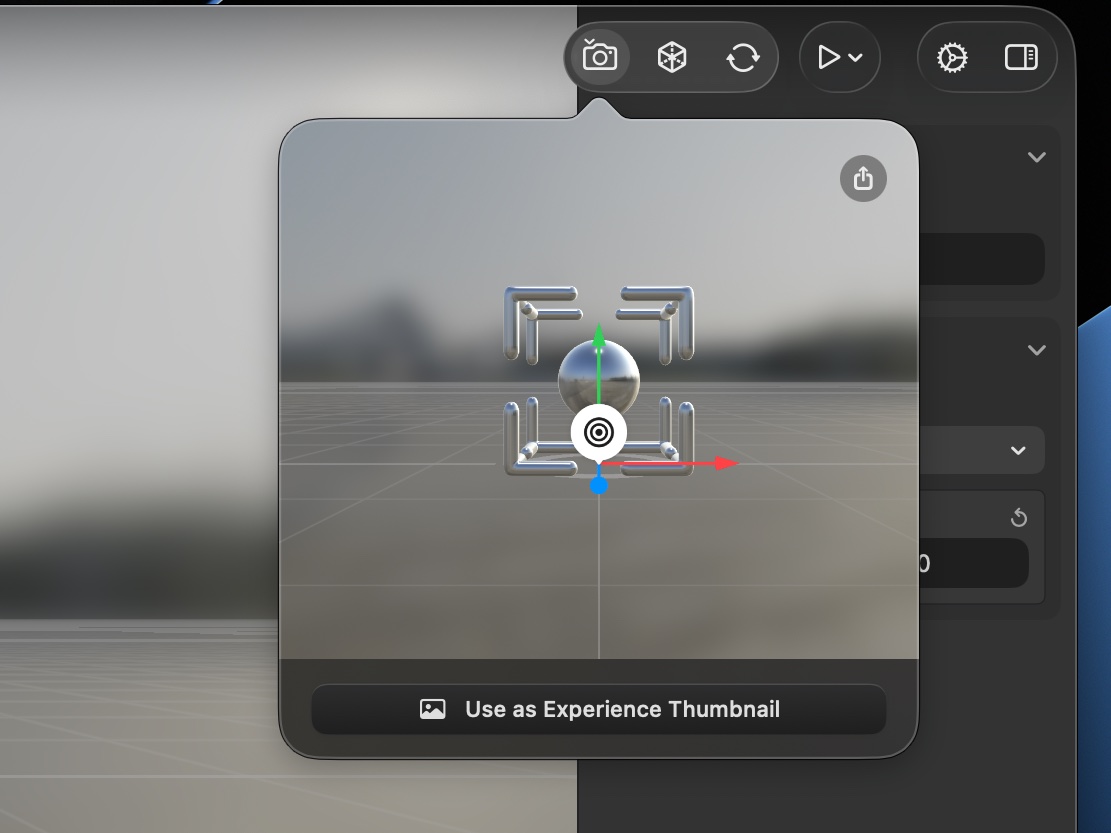
- Snapshot – capture the scene as a preview image for the experience.
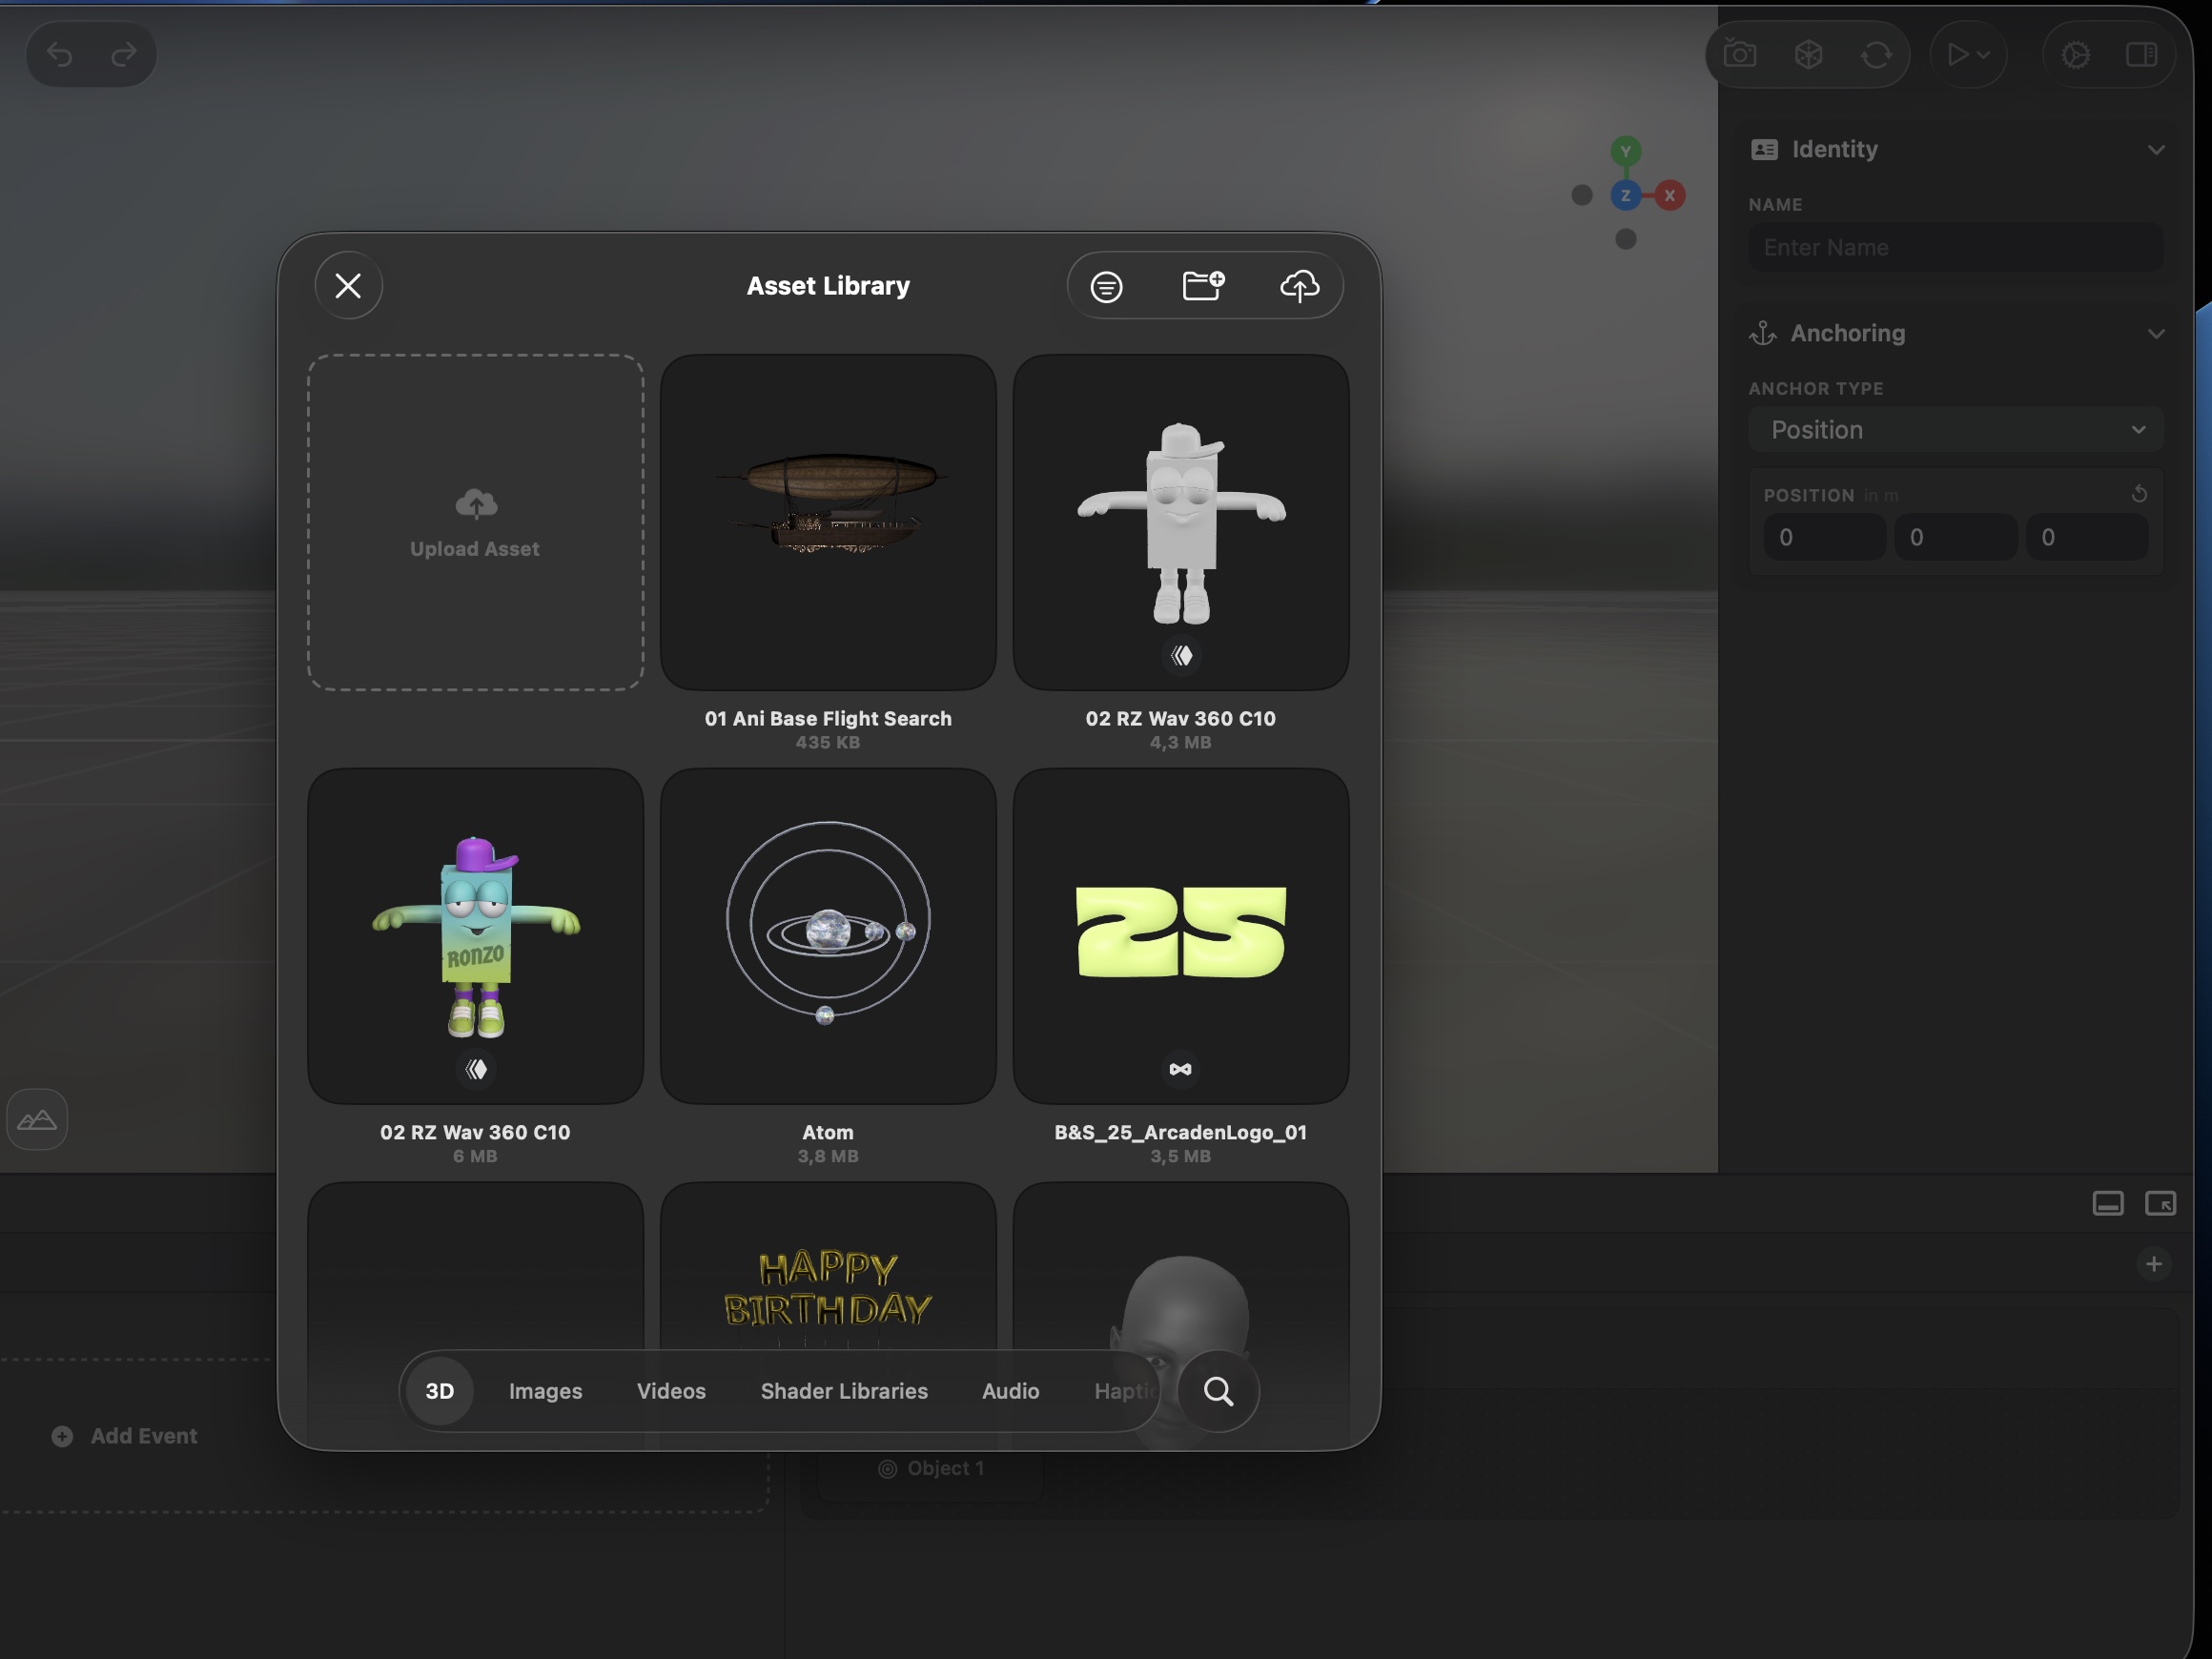
- Asset Library – open the library at any time.
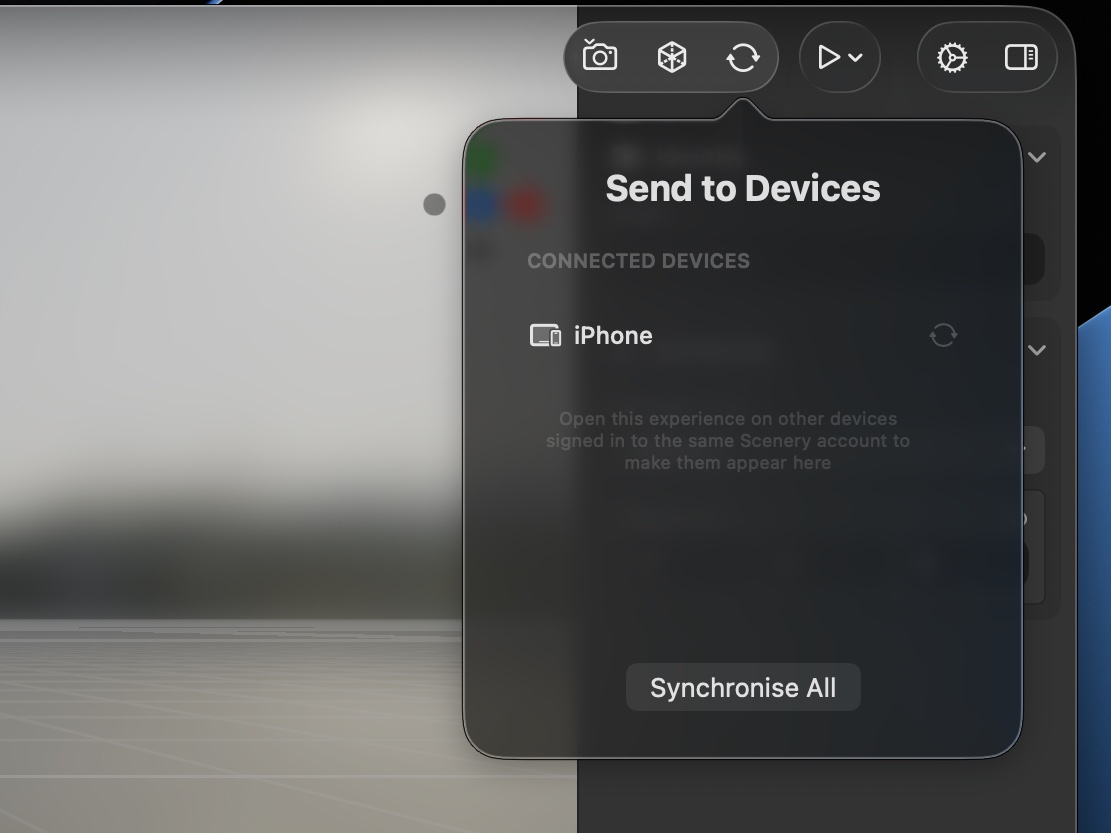
- Send to Devices ProPart of the Pro plan and up – push your edits to a device in real time. While you're actively editing, open the experience on another device (iPhone, iPad, Vision Pro) signed in with the same Apple ID or connected email address, and it automatically appears here as a connected device; changes you make are reflected live as you build. Especially powerful on visionOS.
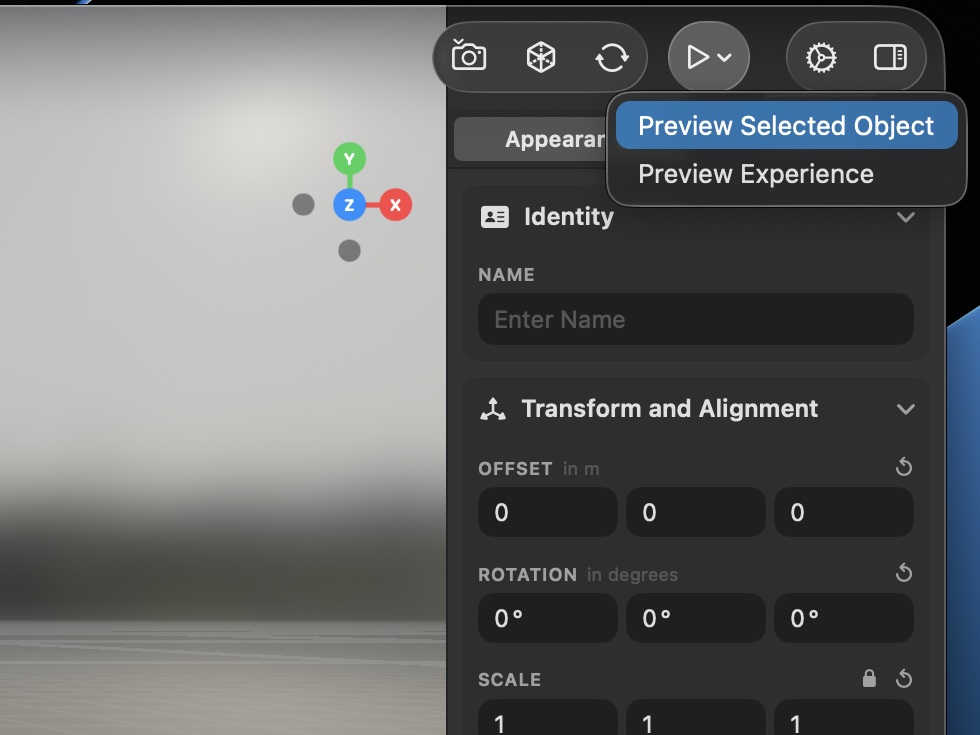
- Preview – run the experience in a simulator, or in AR on the device you're building on. Choose full experience or selected object only (very useful for iterating on one element of a complex object, like a single animation).
- Settings – experience and app settings.
- Sidebar toggle – show or hide the side panel.
1
1. Hierarchy
2
2. Add (+)
3
3. Undo / Redo
4
4. Snapshot
5
5. Asset Library
6
6. Send to Devices
7
7. Preview
8
8. Settings
9
9. Sidebar toggle
A few of these open something worth seeing up close:
Moving around the viewport
- Orbit by click-dragging; move with WASD or the arrow keys. With a trackpad, you can also navigate the scene with two-finger swipes and pinch gestures.
- The axis gizmo (top-right) shows X/Y/Z; click a face to snap the view, or use keys 1–6.
- ⌘F recenters the view on the selected object.
- Switch view presets (front, left, top, …) and toggle perspective / orthographic camera.
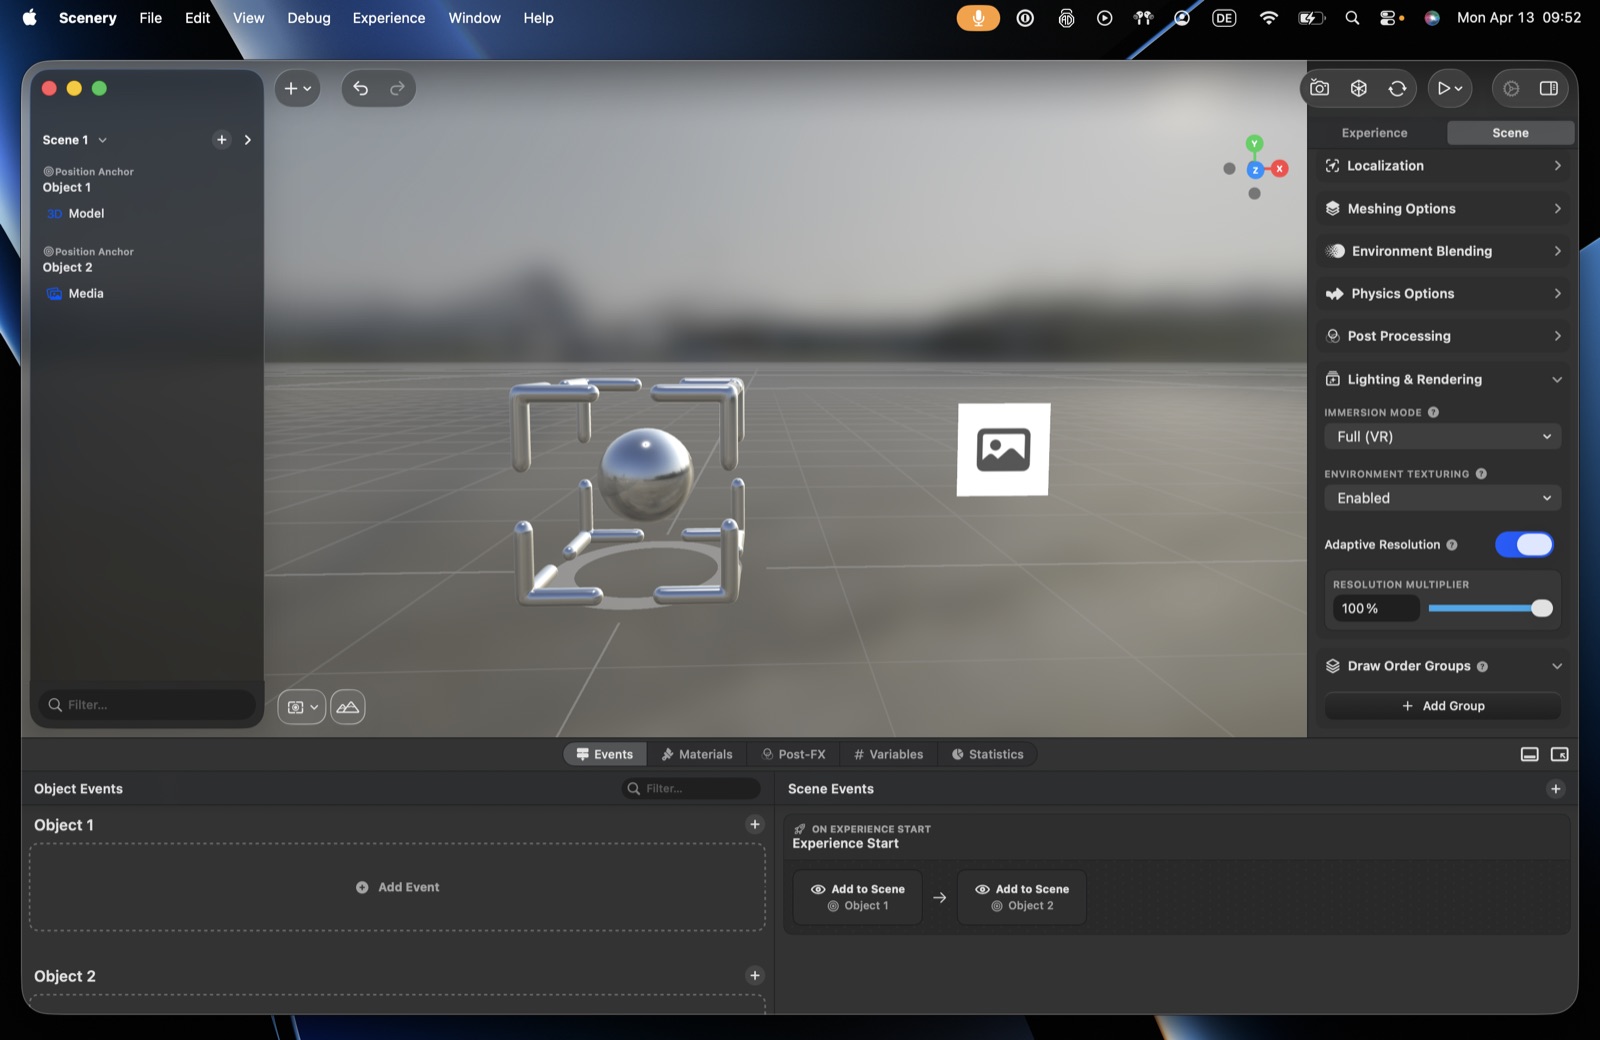
- A background & lighting button opens the environment settings.
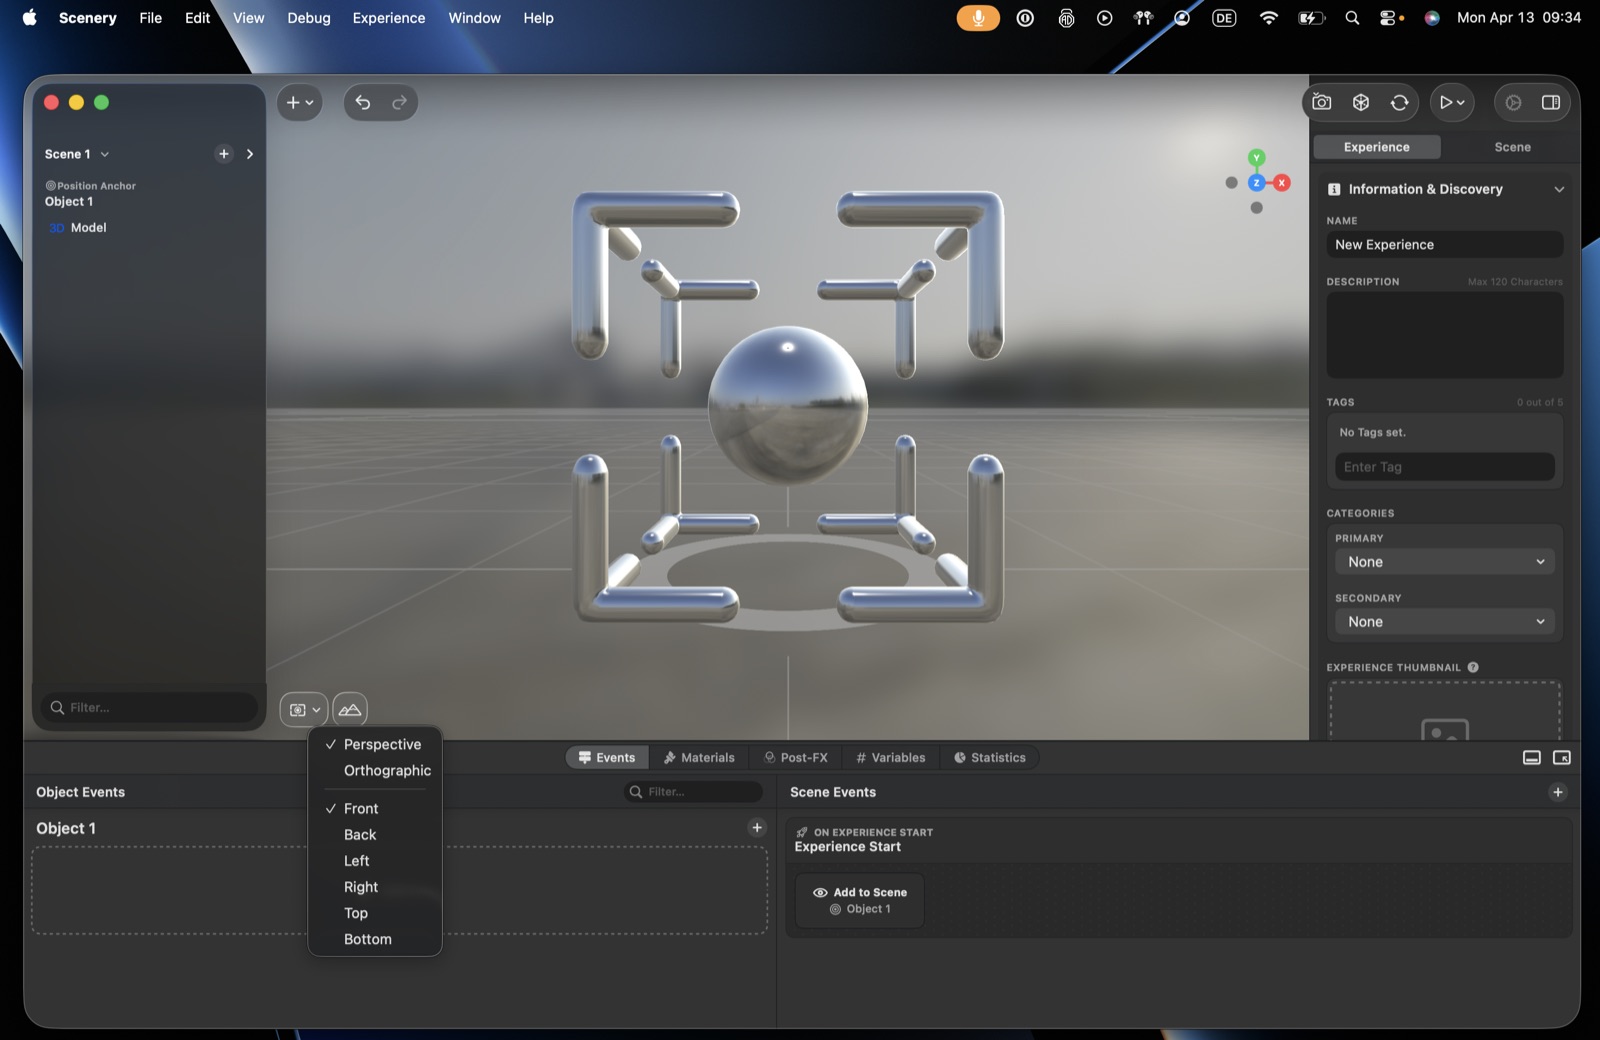 The view-preset menu – perspective / orthographic and the standard views.
The bottom panel
A contextual panel along the bottom, with tabs:
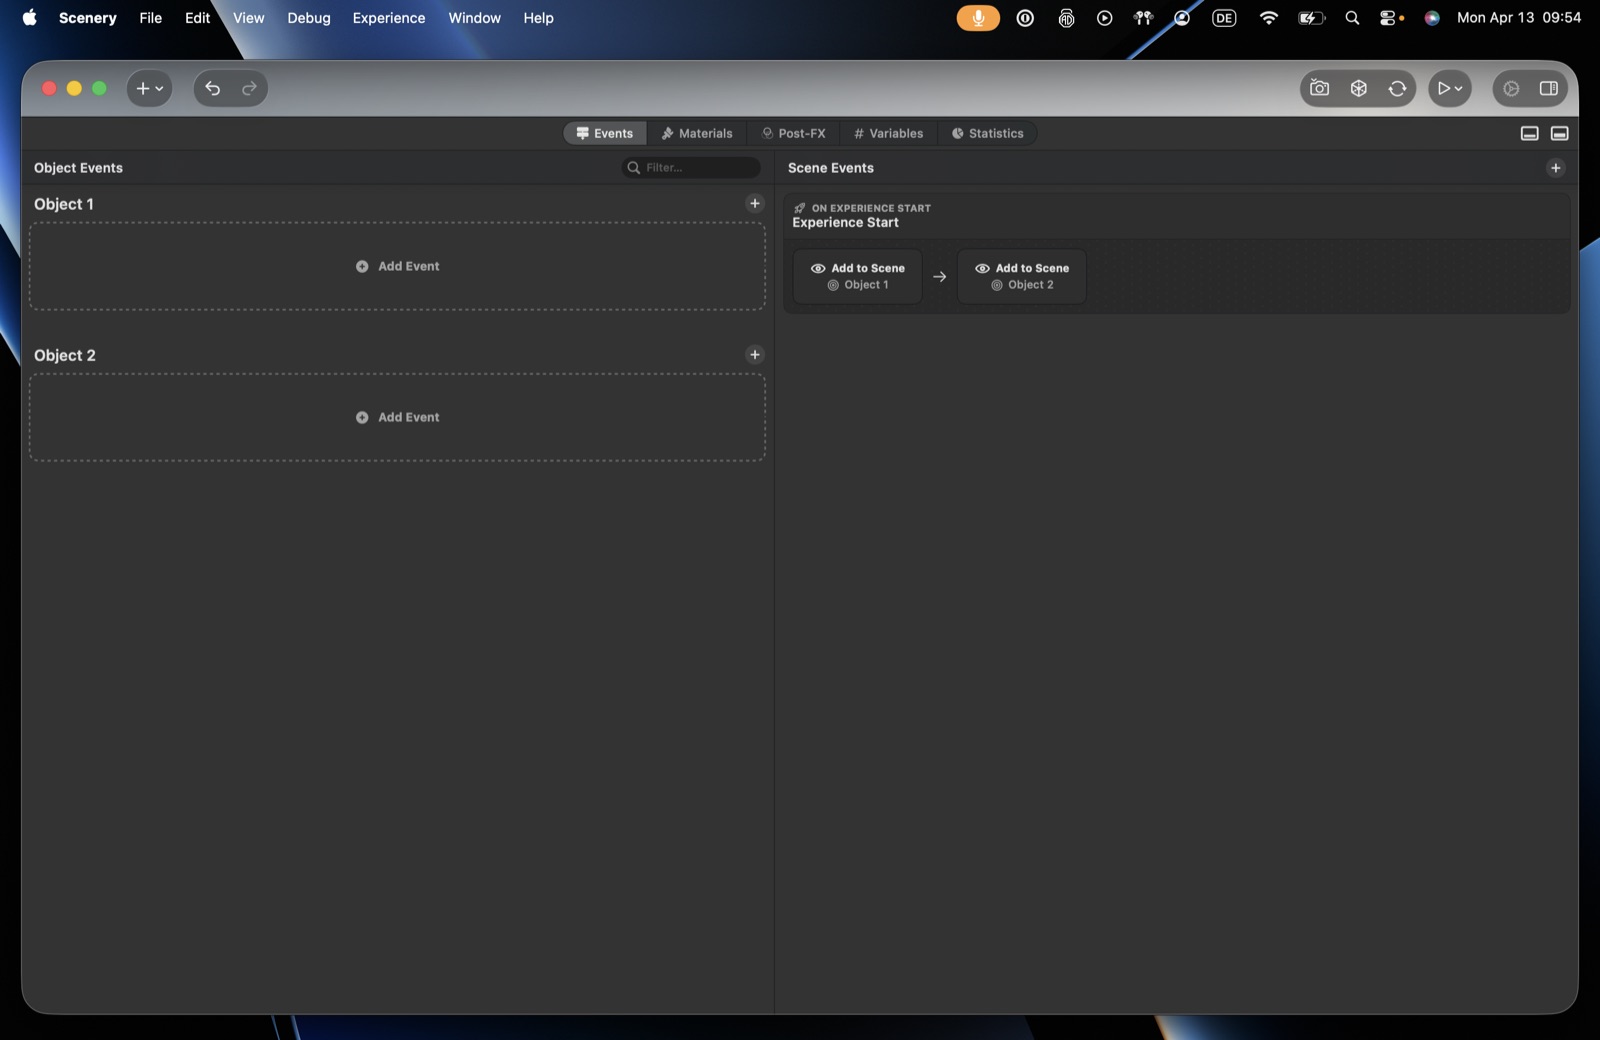
- Events (default) – object and scene events.
- Materials – your custom materials.
- Post-FX – post-processing effects.
- Statistics – coming soon.
Drag the panel up for more room, or use the corner controls to minimize or enlarge it.
 The bottom panel, maximized – Events, Materials, Post-FX, and more.
Hierarchy, selection & right-click
The hierarchy (left) lists the scene's objects. Most elements – in the hierarchy or the viewport – respond to right-click with the same menu:
- Frame Selected (or ⌘F) – centre the view on it.
- Duplicate / Delete.
- Lock / Unlock – stop an object being moved by accident (good for carefully composed containers).
- Show Events – jump to its events.
- Wrap in Container – put it inside a new container.
- Add Event / Quick Events – set up a trigger without opening the Events panel (Quick Events are pre-built combos, e.g. remove-on-collision-and-show-next for scavenger hunts).
- Copy Development ID – the object's unique ID, for referencing it in scripts.
 The right-click menu on an object.
Other handy moves:
- Hide / show – the eye icon (hover an item) temporarily removes it from the scene, like toggling a layer – useful for comparing versions. A hidden object shows an invisible marker in Scene Events.
- Multi-select – ⌘-click several objects (in the viewport or hierarchy) to get one shared gizmo and transform them together.
The same right-click also works in the Events panel (copy/duplicate an action or a whole chain).
Scenes
An experience can hold multiple scenes. Click the arrow next to the current scene for an overview; right-click a scene to duplicate it (an exact copy of all its content and events), and double-click / Enter to rename. Move between scenes at runtime with the Transition to Scene action.
 Multiple scenes in the hierarchy.