
Appearance
Asset Appearances
Select an object and open its Appearance tab to control how it looks and sits in the scene. (Behaviour like gestures and physics lives in Asset Properties.)
Transform & alignment
- Transform – offset (position), rotation (in degrees), and scale. Scale has a proportional lock (closed = scale all axes together; open = scale each axis independently). Tip: drag inside a value field to adjust it smoothly.
- Vertical alignment – how the object sits vertically:
- None – stays exactly where you place it.
- Floor – snaps to the floor, wherever it's placed.
- Eye level – rises or lowers to the viewer's height. Good for accessibility – e.g. collectibles that stay reachable for both a tall adult and a small child.
- Alignment constraints:
- None – fixed orientation.
- Billboard – always faces the user (great for characters, readable UI).
- Look At – faces the user or another object you choose, with optional transition smoothing for a natural, lazy follow.
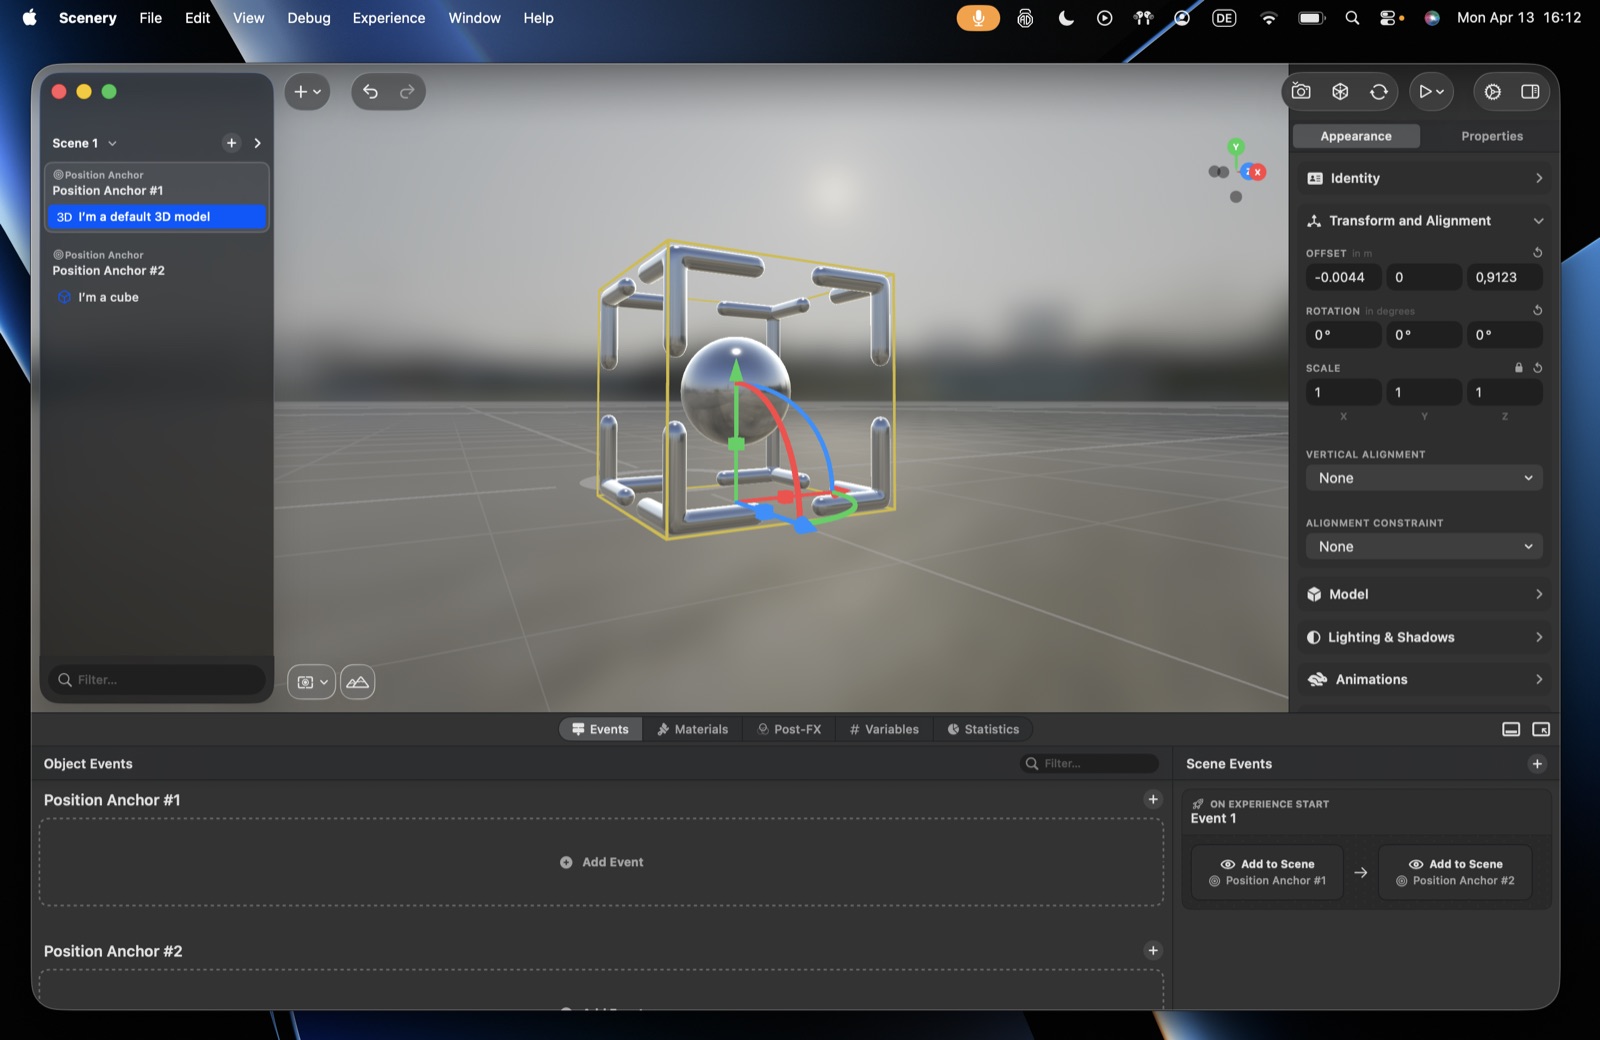 The Transform & Alignment section of the Appearance tab.
Model
The object's kind – Primitive, Integrated asset, Custom model, Media, or Web view – and its core look. The kind and its type-specific options live in Adding Content; here you also set its opacity (0 transparent to 1 opaque).
Render & adjustments
- Render model – on by default; turn off to keep an object in the scene but invisible until shown by an action.
- Size adjustment (fitting box) – very large models are auto-fit into a 1 m³ box (preserving proportions) so an accidentally huge import doesn't fill the room. Set to None to use the model's real size.
- Pivot adjustment – which face of the object sits at its origin: None, Top, Center, Bottom, Left, Right, Front, or Back. It decides how content seats against whatever it is attached to – Bottom stands a model on a floor, Back hangs one flat against a wall. Left on its own origin, a model straddles the surface it is placed on, so half of anything solid ends up inside a wall.
Hover effect
On Apple Vision Pro, looking at an interactive object highlights it. Set this to Automatically, Always, or Never (turn it off if it clashes with your visual style). When on, choose a Highlight, Spotlight, or shader-based effect, with a custom colour, strength, and transparency behaviour:
- Full – the effect always renders at full opacity, ignoring the object's transparency.
- Mask – appears only where the object's opacity is above ~5% (visible parts only).
- Blend – the effect's opacity follows the object's, fading in and out together.
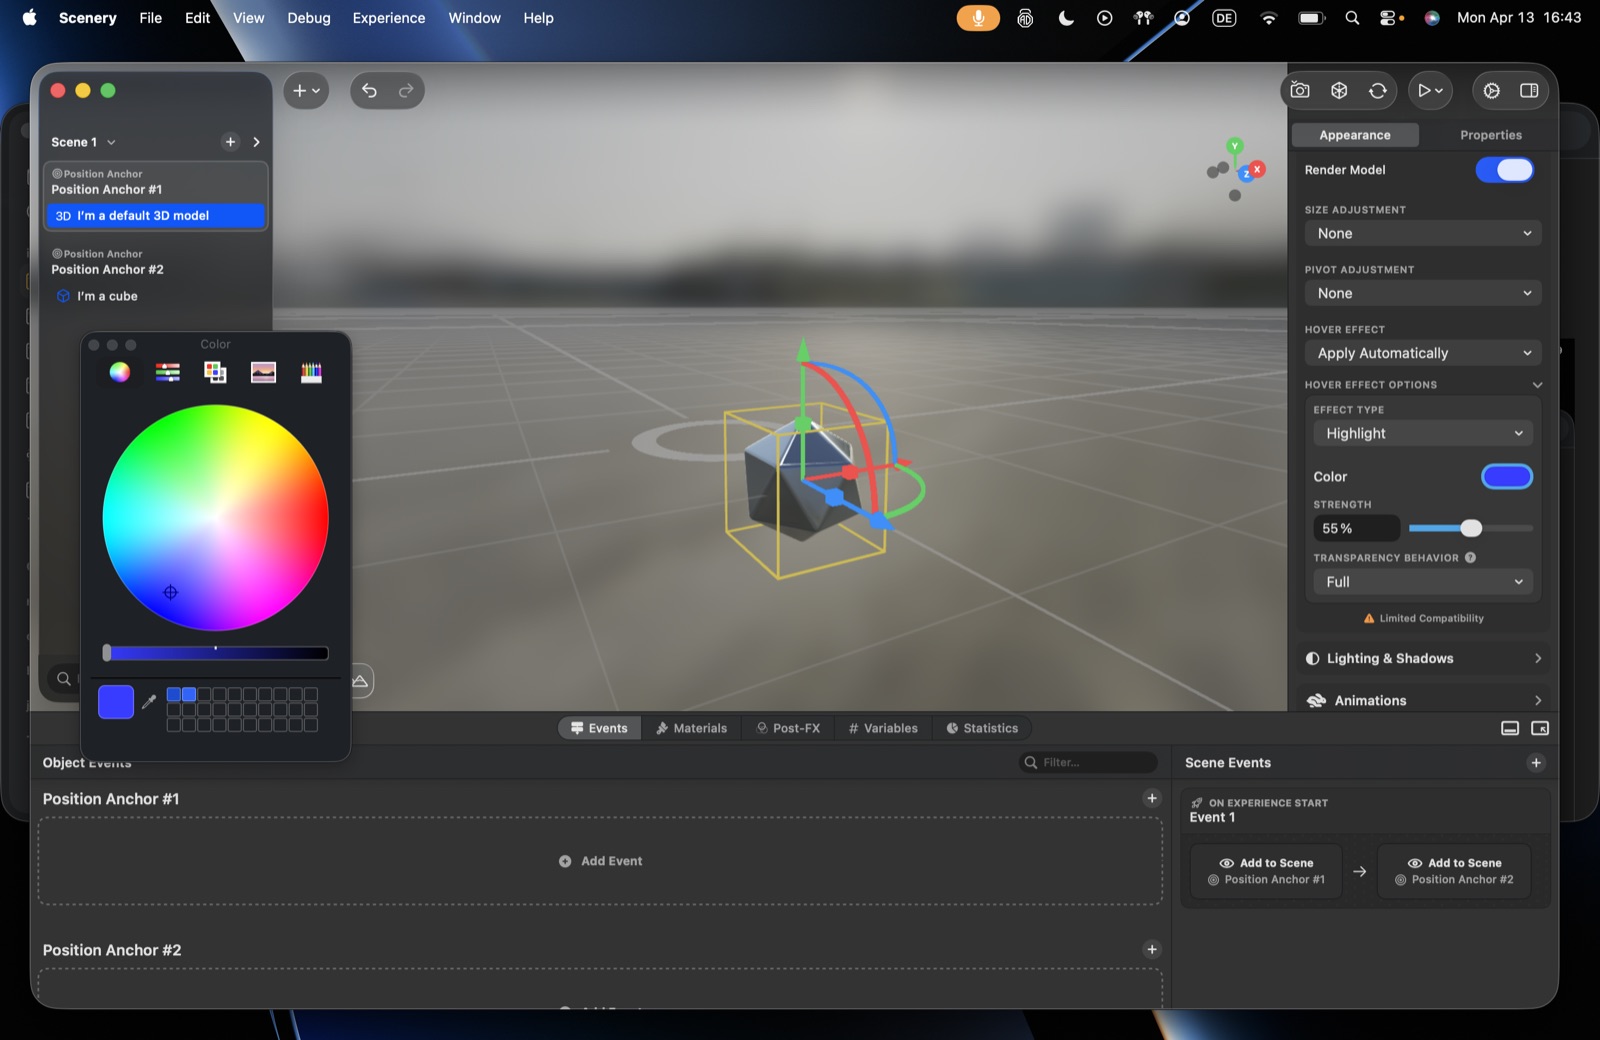 The Apple Vision Pro Hover Effect options.
Lighting & shadows
- Cast dynamic light shadows – the object casts shadows onto the real environment (not on the web yet).
- Bloom – let this object glow. Only takes effect when the scene's Bloom is set to Selected objects; the switch is dimmed otherwise, since under Whole scene anything bright enough already blooms. The object still has to be bright enough to pass the scene's threshold – marking it opts it in, it doesn't force it to glow.
- Cast grounding shadows – a shadow beneath the object, as if lit from above.
- Receive grounding shadows – the object receives other objects' grounding shadows.
- Fade behaviour near physical objects – how a grounding shadow behaves where it falls close to real-world objects:
- Default – the system's standard handling.
- Constant – the shadow stays at full strength even right up against nearby real-world objects.
- Fade – the shadow softens and fades out as it approaches detected real-world objects, so it doesn't read as painted across a surface it shouldn't touch.
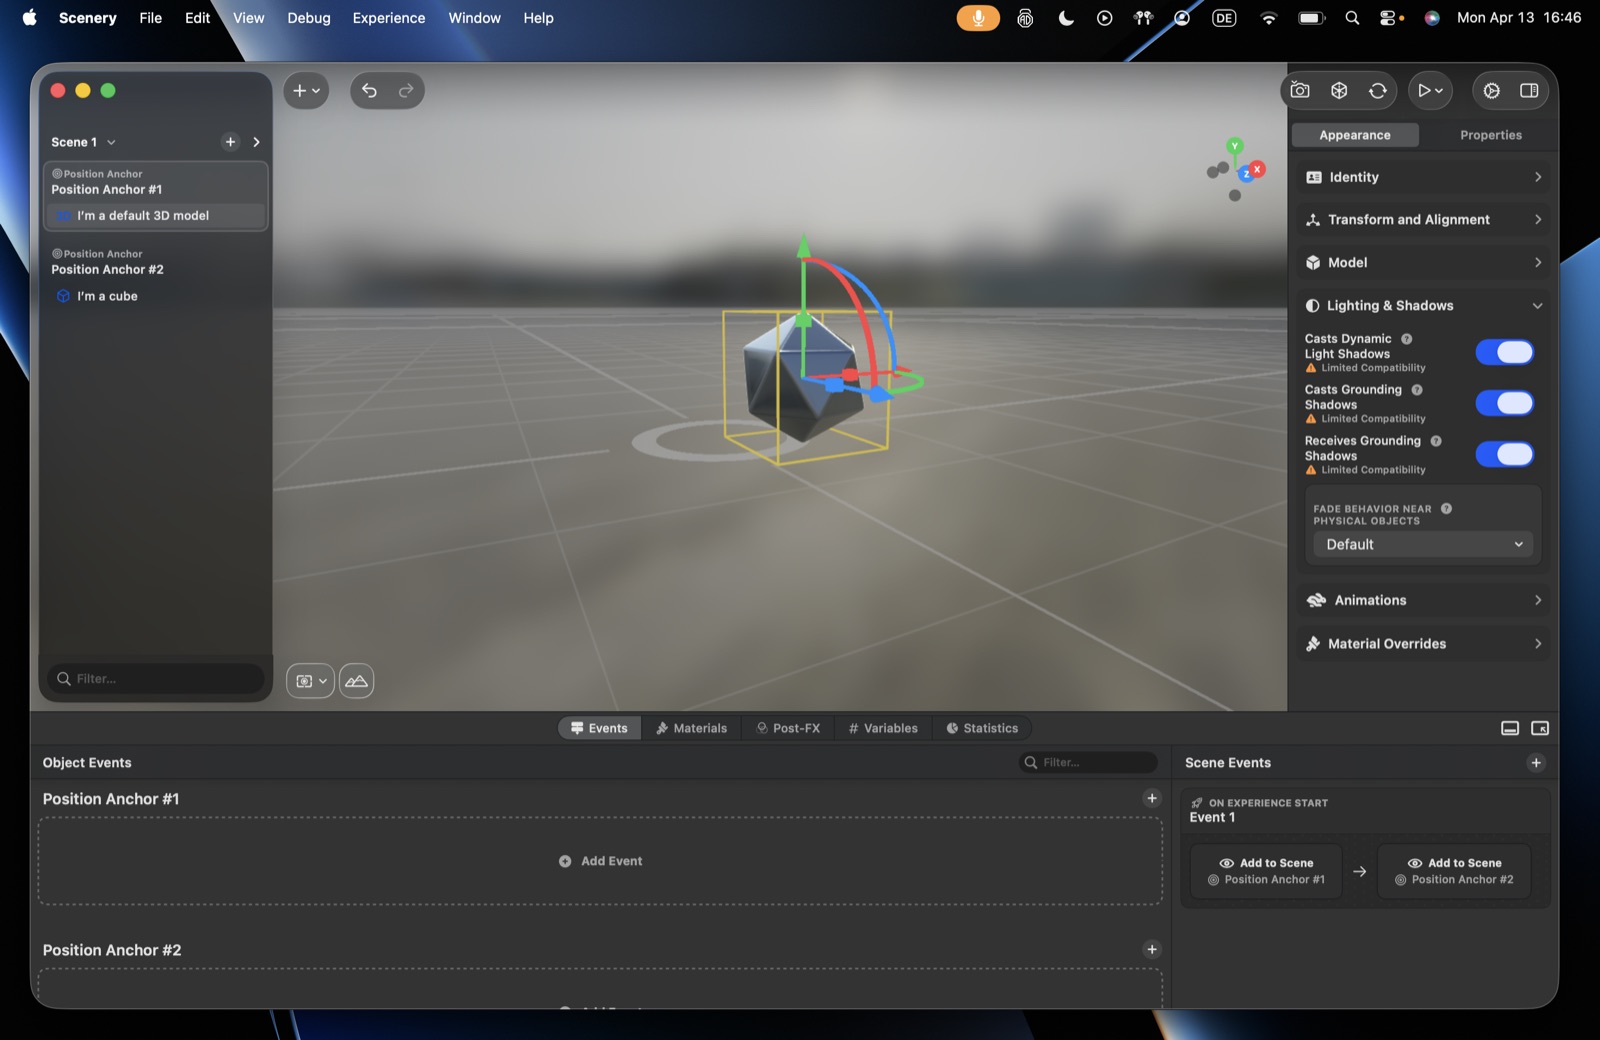 The Lighting & Shadows section.
Reveal & removal animations
How the object animates in and out. Default is fade and scale; you can also choose fade only, or disable it. Each has a duration and scale factor – e.g. a playful pop-in (fade + scale from small) or a quiet, slow fade so users barely notice it appear.
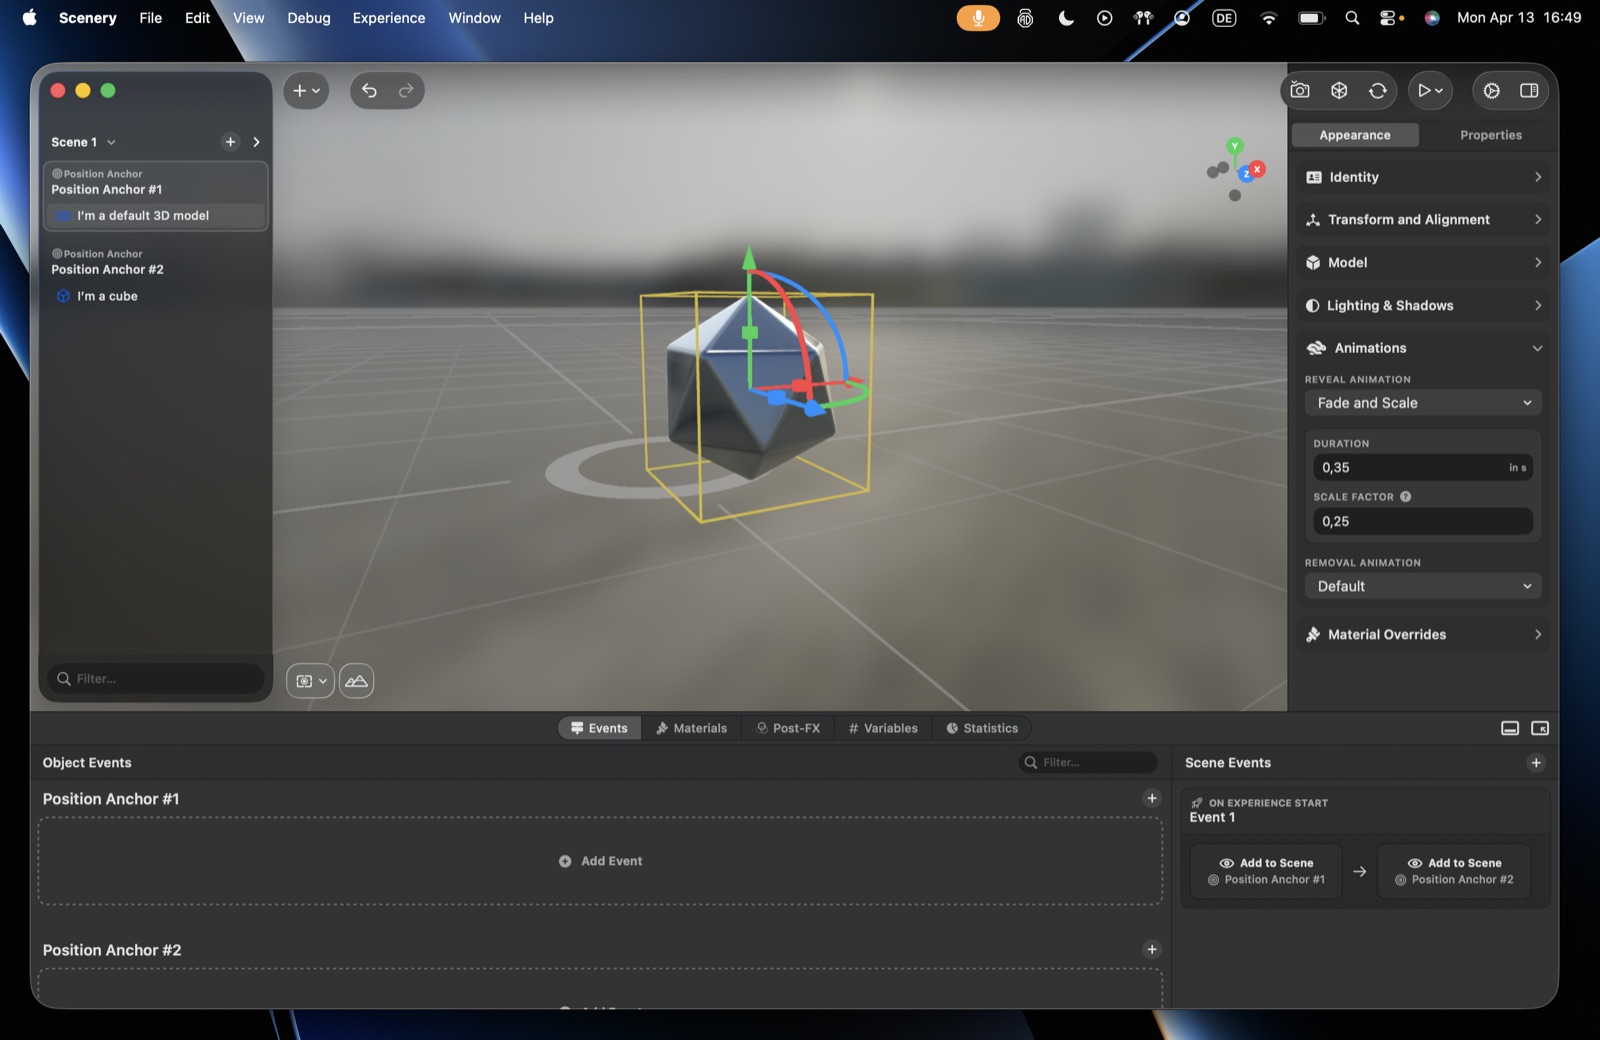 The Reveal and Removal Animation options.
Material overrides
- Face culling – each surface of a model has an outer and an inner side, and only one is drawn by default (the other is left invisible, which saves work). This controls which:
- Back (default) – draws the outer side; the normal choice for solid objects, whose insides you never see.
- Front – draws the inner side instead, so the object looks hollow or inside-out – handy for seeing inside a shape.
- None – draws both sides; use it for thin, flat, double-sided things like a plane or sheet that would otherwise vanish when seen from behind.
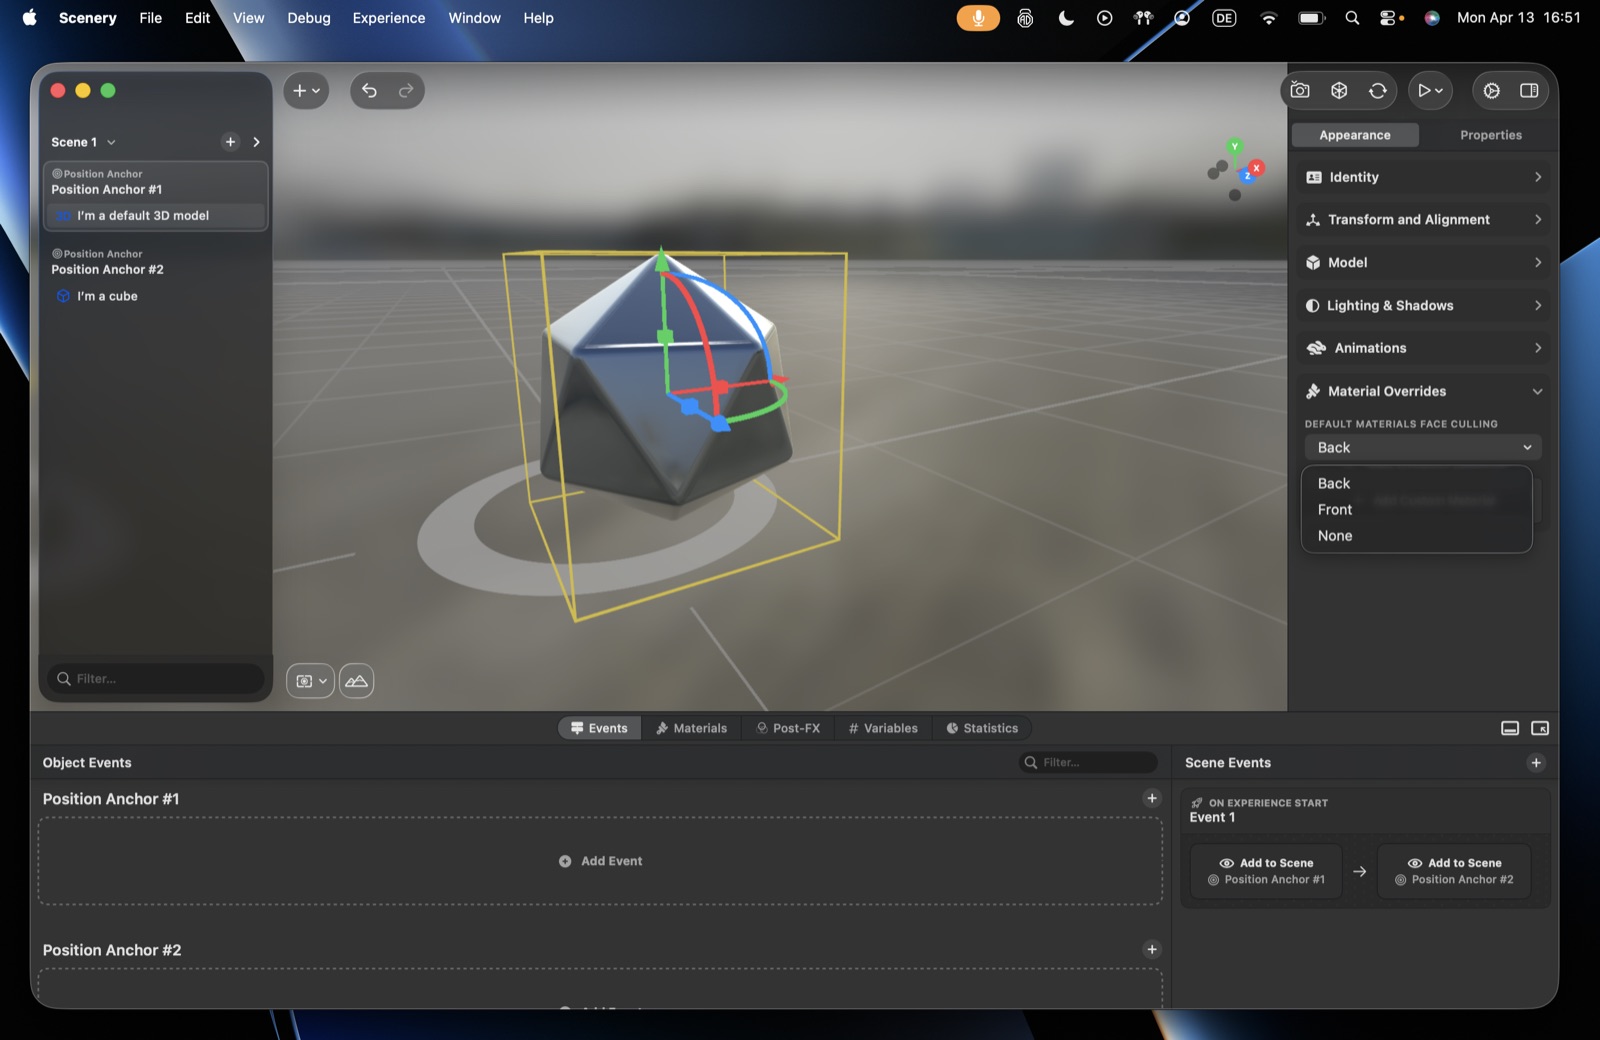 Face Culling sits at the top of Material Overrides, above the custom-material reference.
- Custom material – reference a material from the Materials section. Materials are created independently there, then referenced here per object.