Appearance
Materials ProPart of the Pro plan and up
Custom materials change how a surface looks. You create them in the Materials tab (next to Events), independently of any object, then apply them per object. Because they're standalone, one material can be reused across many objects.
Creating and applying
- In the Materials tab, choose New material and pick a kind (below).
- On an object, open Appearance → Material overrides, then Add reference to apply a material (or create a new one from there).
- You can apply several materials to one object, and remove a reference without deleting the material itself.
Material target – when applied, you can target First model, All models, or selected material slots, so a material can affect only part of a model (e.g. just the rims of a car, or the glowing ring of a suit).
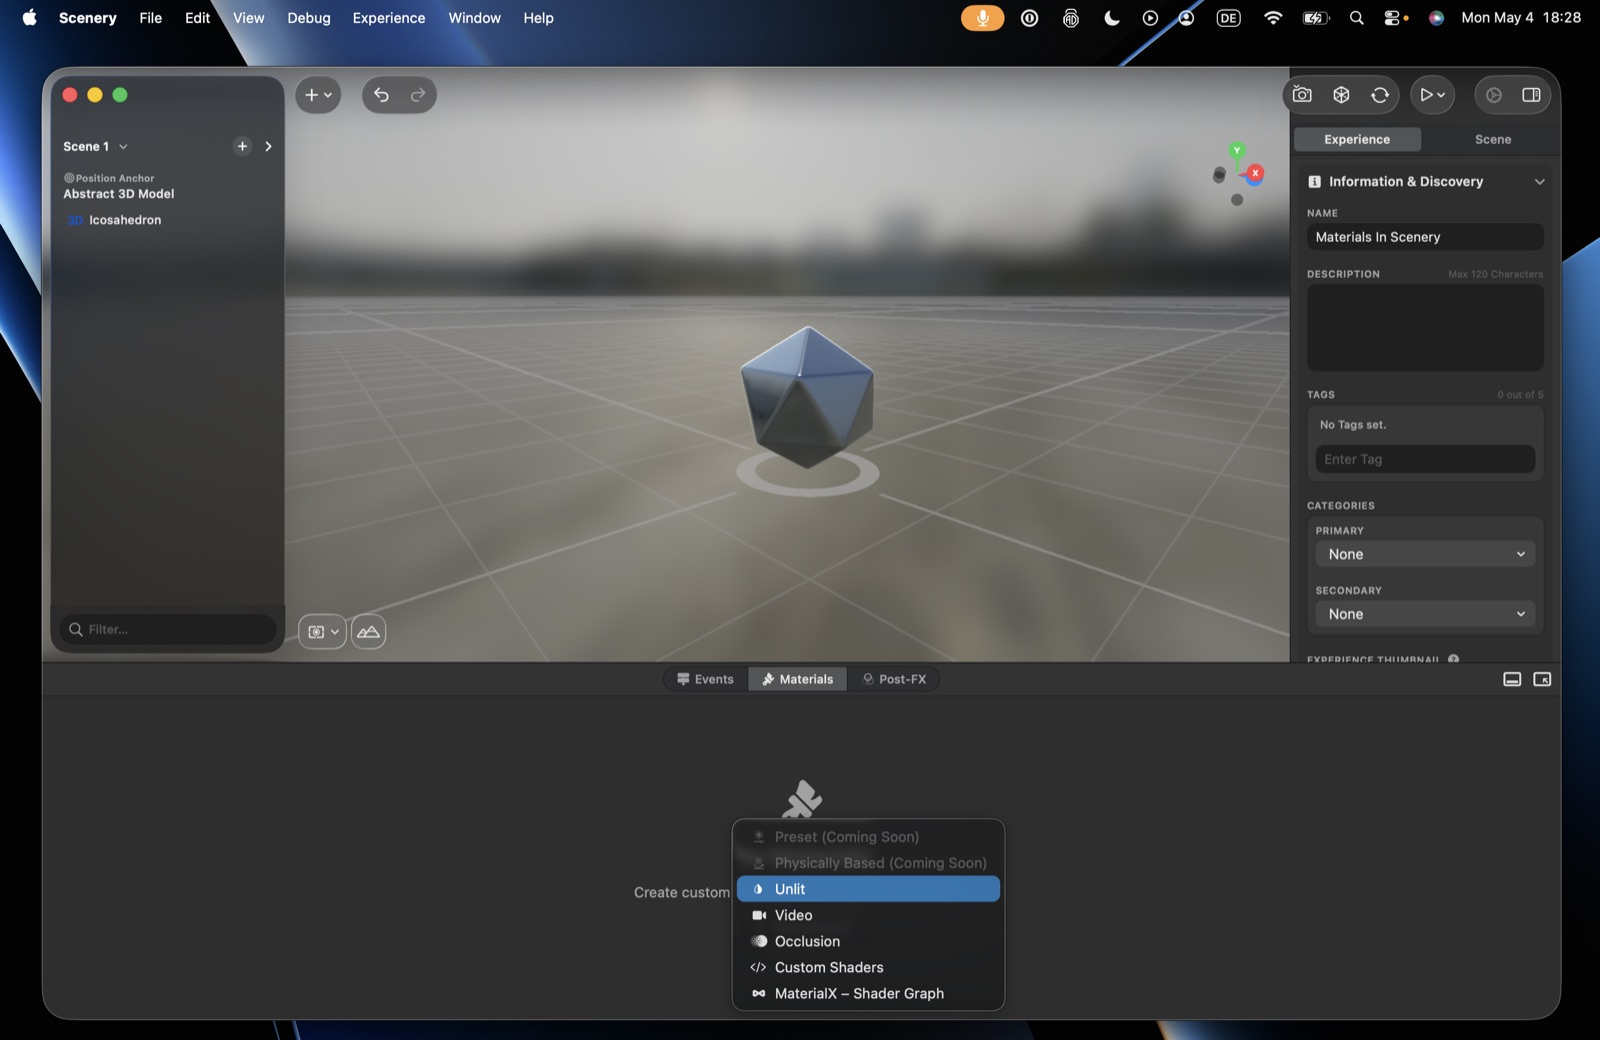 Creating a new material – the kind picker.
Material kinds
- Unlit – doesn't respond to scene lighting (no metalness/roughness). Set a texture or a colour tint, optional tone mapping (matches output to the scene), and opacity (with an optional opacity texture).
- Video – a video texture. Pick the video asset, adjust its audio, and set loop / autoplay. Supports stereoscopic/spatial video and HTTP Live Streaming (HLS) (via right-click → manual URL). With UV mapping it can cover a whole model or just part of it (e.g. a curved plane that wraps around the user).
- Occlusion – invisible; hides whatever is rendered behind it. Great for walk-in portals, or for blocking out real buildings so virtual objects can collide with them (give the occluder physics). Options: receive shadows, read depth. (On Mac it previews as black; black renders as transparent in AR.)
- Custom Shaders – your own Metal-based shaders. Load from the asset library, or use live editing (point at a shader file on your Mac and see edits instantly – a live shader preview). Options include the surface shader function (a dropdown when the file has several), a geometry modifier function, and a lighting model – Lit (realistic shading that responds to scene lighting), Unlit (ignores lighting, drawing at constant brightness from its colours and textures), or Clearcoat (Lit plus a glossy clear top layer, like car paint) – plus options to inherit the original material's properties and control opacity.
- MaterialX – Shader Graph – a ShaderGraph material authored in Reality Composer Pro and imported. Also supports asset-library or live-editing (a USDZ on your Mac).
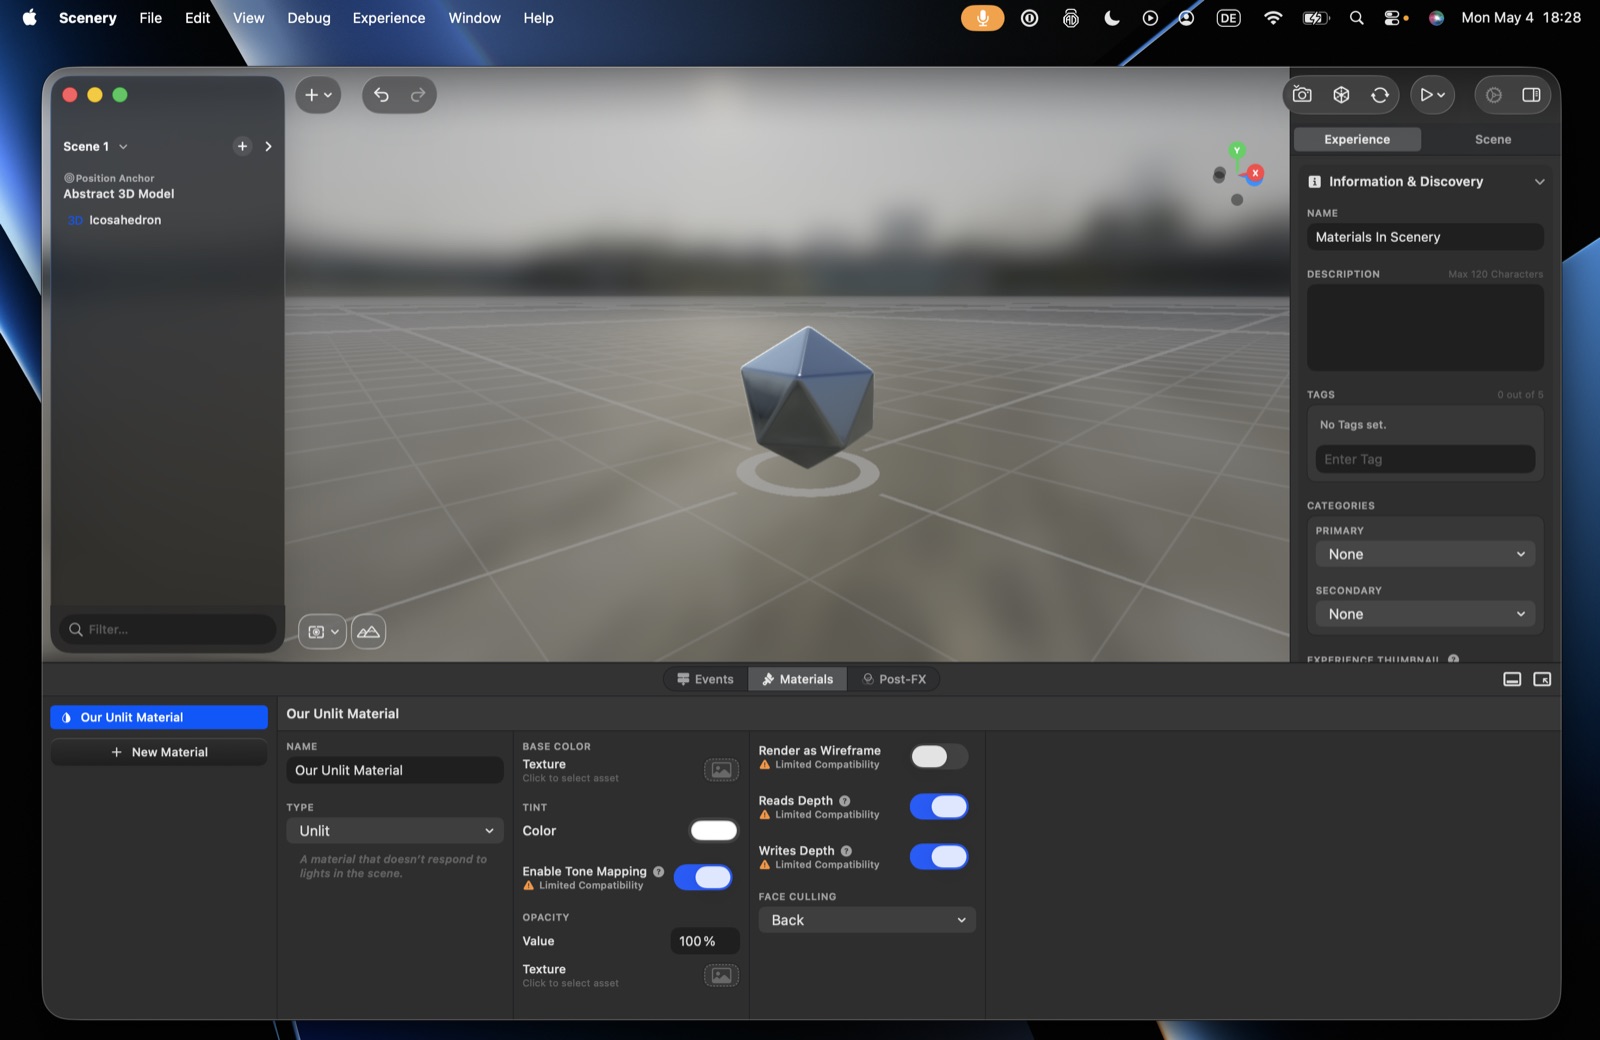 An Unlit material.
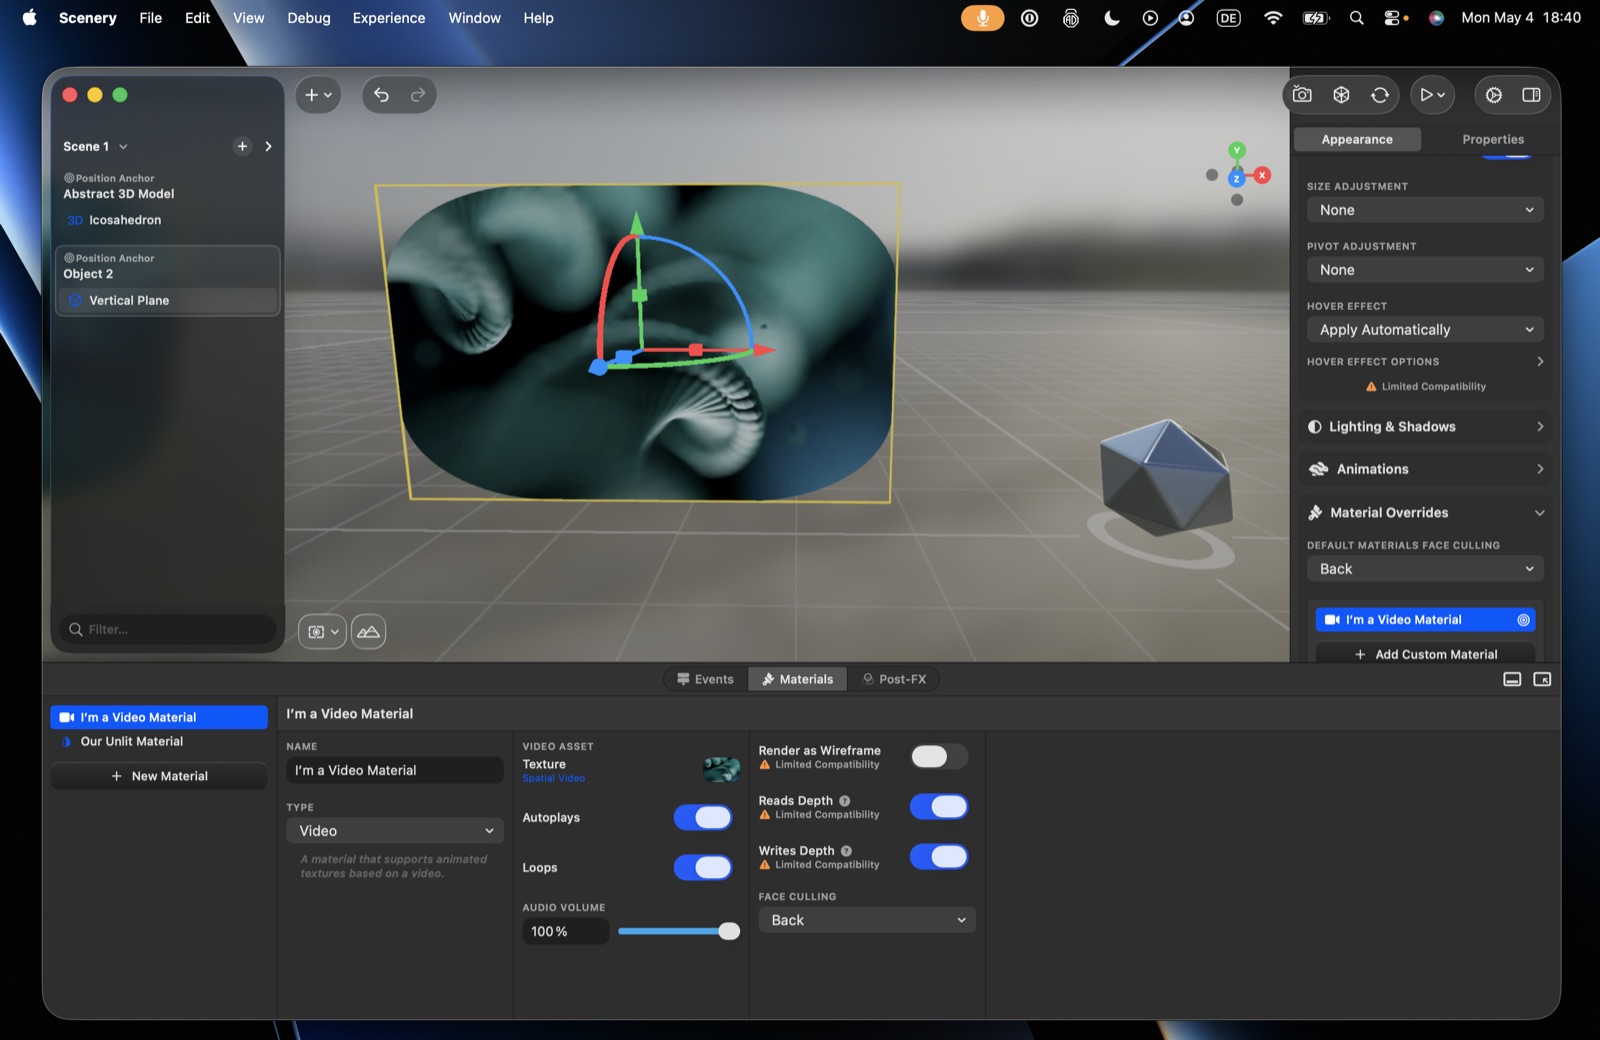 A Video material, playing in the viewport.
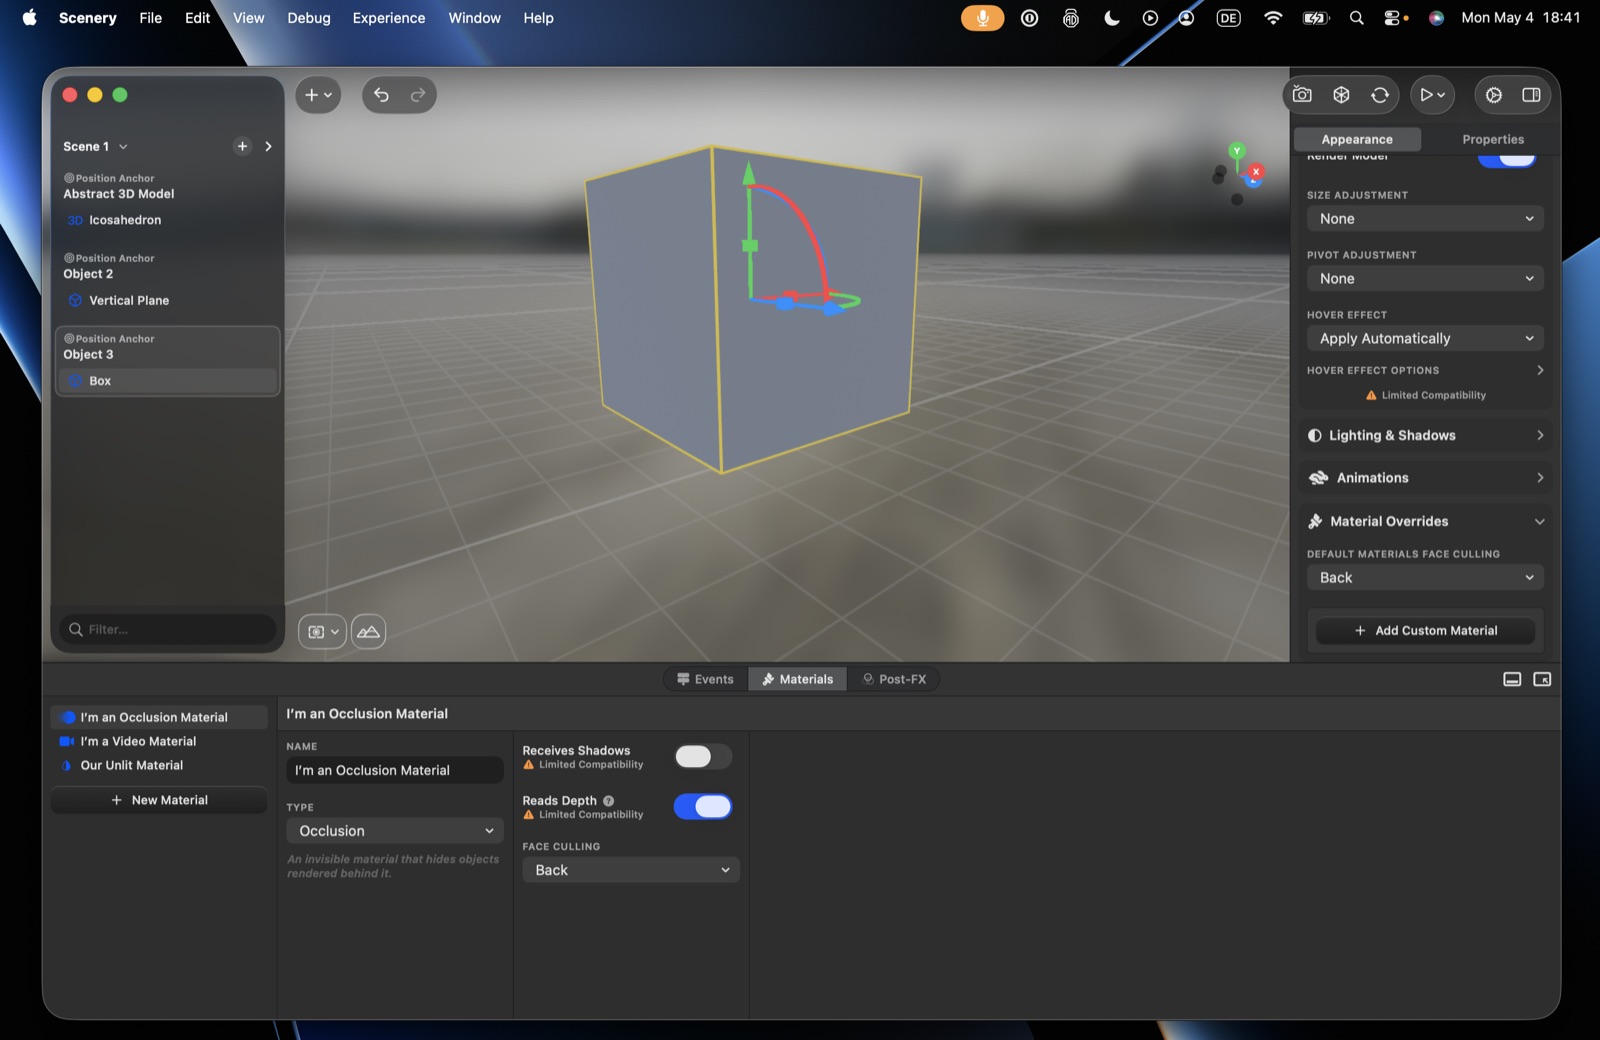 An Occlusion material.
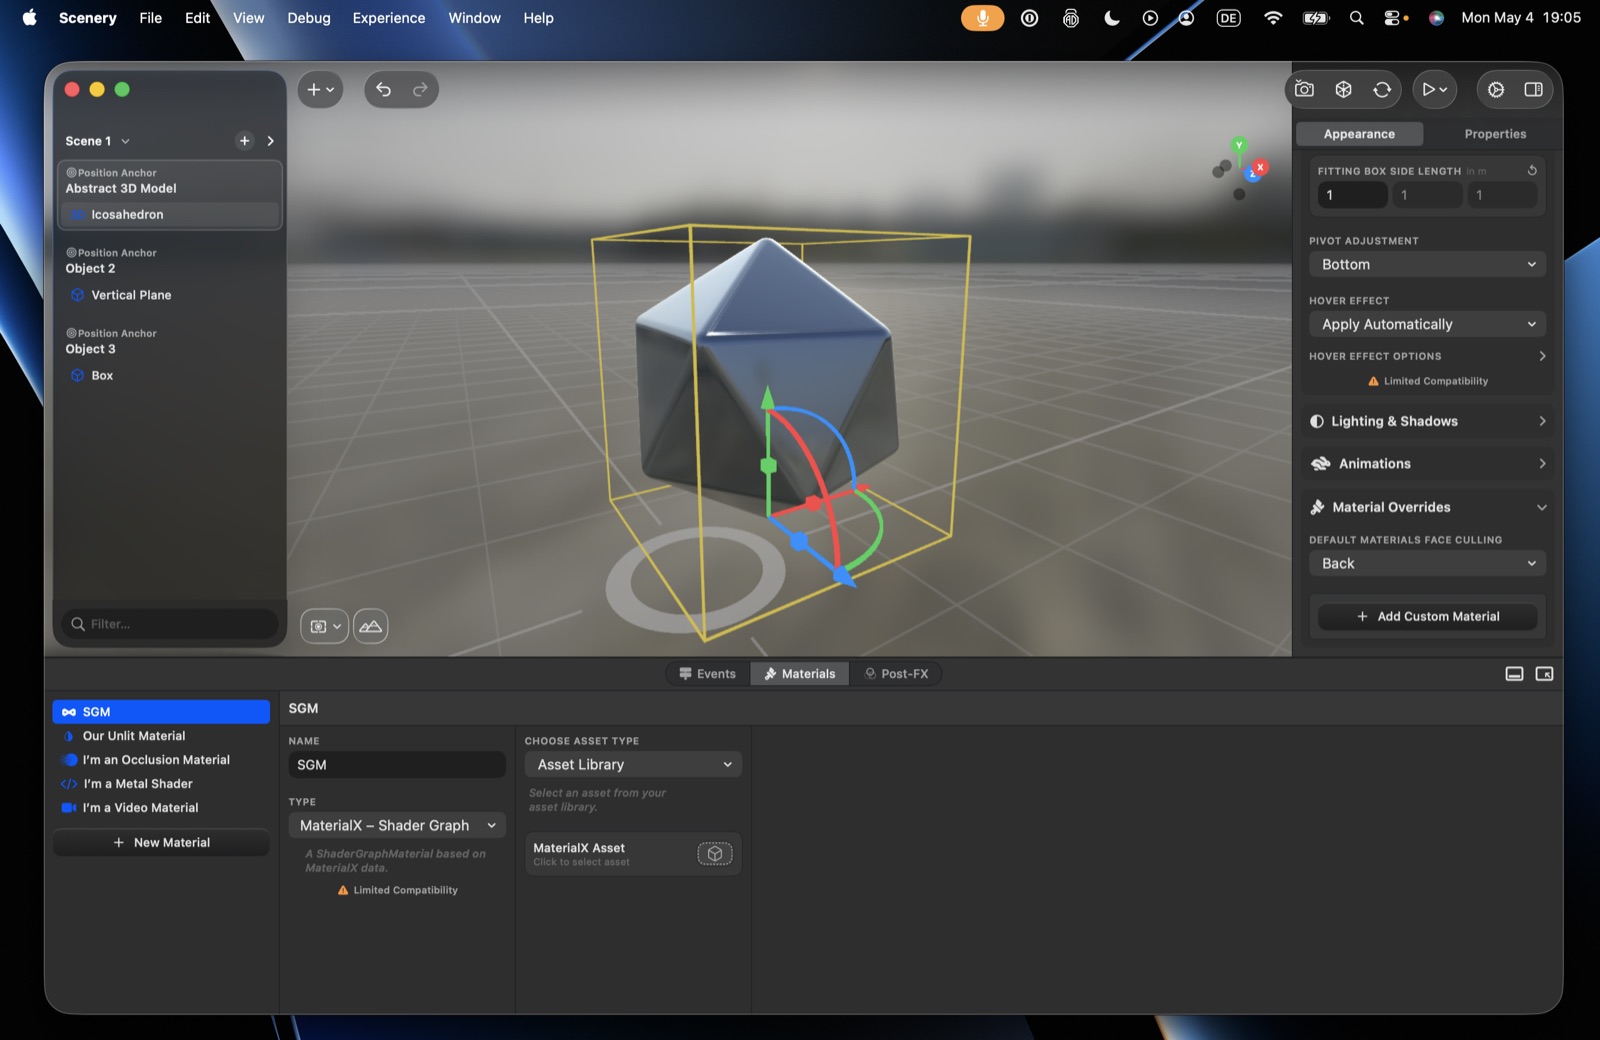 A MaterialX – Shader Graph material.
Platform support
Custom Shaders run on iOS and macOS only – they're hidden for visionOS experiences. For cross-platform shaders (including Vision Pro), use MaterialX – Shader Graph. (Physically Based and Preset material kinds are shown as Coming Soon.)
A custom shader file can define a surface shader (sets a surface's colour and properties) and a geometry modifier (moves vertices). The editor's surface shader function and geometry modifier function pickers choose which function in the file to use.
Example: a custom shader (surface shader + geometry modifier). This draws a UV gradient as the emissive colour and adds a subtle, time-based wiggle.
cpp
#include <metal_stdlib>
#include <RealityKit/RealityKit.h>
using namespace metal;

// Surface shader: sets the surface colour and properties.
[[stitchable]]
void helloWorldSurfaceShader(realitykit::surface_parameters params) {
    float2 uv = params.geometry().uv0();
    half3 color = half3(1.0 - uv.y, 0.2, uv.y); // gradient, top to bottom
    params.surface().set_emissive_color(color);
}

// Geometry modifier: moves vertices. Here, a subtle sine-wave wiggle over time.
[[stitchable]]
void helloWorldGeometryModifier(realitykit::geometry_parameters params) {
    float3 position = params.geometry().model_position();
    float3 normal = params.geometry().normal();
    float time = params.uniforms().time();

    float amplitude = 0.02; // wiggle strength
    float frequency = 6.0;  // wave density
    float speed = 4.0;      // animation speed
    float displacement = amplitude * sin(position.x * frequency + time * speed);
    params.geometry().set_model_position_offset(position + normal * displacement);
}
Shared rendering options
Most material kinds share these:
- Render as wireframe – draw only the mesh's edges.
- Read depth – when on, the material does a depth test, so it's hidden behind closer depth-writing objects; when off, it always draws regardless of what's in front (draw-order groups still apply).
- Write depth – the material writes to the depth buffer, so other objects test against it.
- Face culling – each surface of a model has an outer and an inner side, and only one is drawn (the other is left invisible, which saves work). Back (default) draws the outer side – right for solid objects, whose insides you never see. Front draws the inner side instead, so the object looks hollow or inside-out. None draws both sides – use it for thin, flat things like a plane or sheet that should be visible from either side.
The five usable kinds are Unlit, Video, Occlusion, Custom Shaders, and MaterialX. PBR and Preset are Coming Soon, and Custom Shaders isn't available on visionOS.
Lit uses physically-based shading; Unlit applies no lighting; Clearcoat adds a clearcoat layer over PBR.