
Appearance
Adding Content to a Scene
Add content from the + button. Each element you add becomes an object in the scene, holding its visual content inside it. You can give each object its own anchor (how it attaches to the world), and style it in Asset Appearances, Asset Properties, and Materials. This page covers the content types themselves and their type-specific options (set in the object's Appearance → Model section).
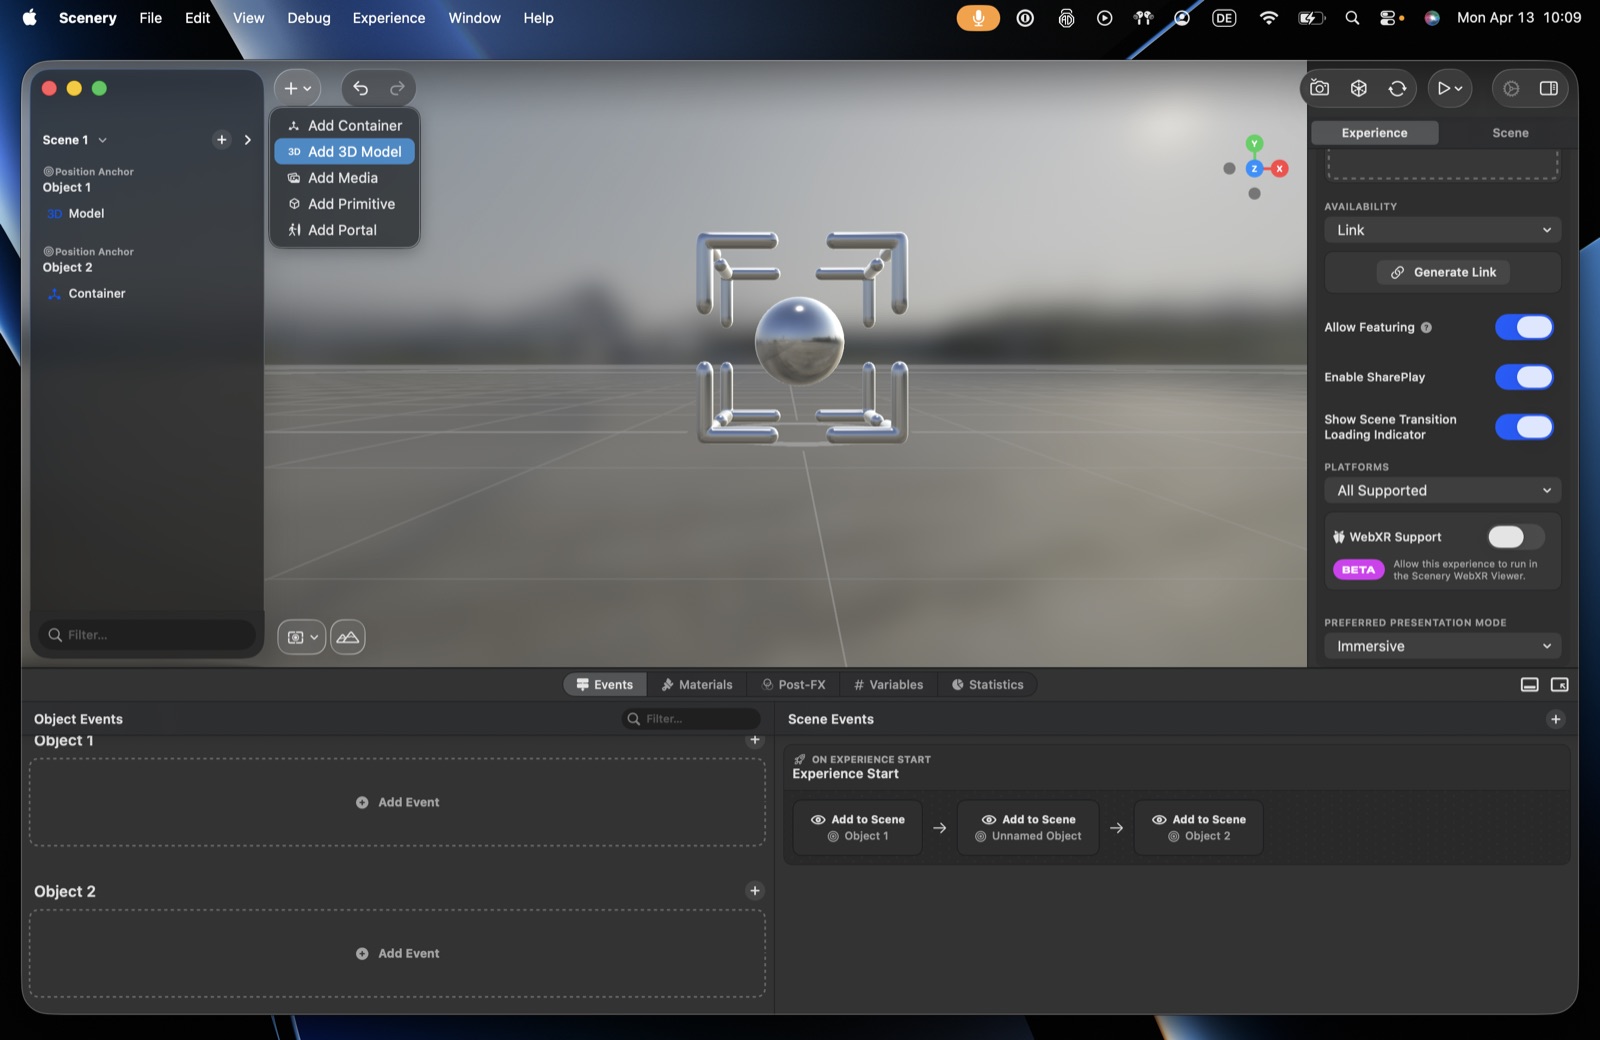 The + (Insert) menu.
The Insert menu offers Container, 3D Model, Media, Primitive, and Portal to everyone; User Interface appears once your account has the UI-authoring entitlement.
Container
An empty grouping you fill with other content, or use to anchor several objects together as one unit.
Primitive
A basic shape – a horizontal or vertical plane, a box, or a sphere – with dimensions, and a corner radius on planes and boxes. Good for prototyping and placeholders.
3D Model
Your own 3D model, or a ready-made integrated asset.
- Custom model – pick a model from the asset library; the field shows a preview, file format, and size.
- Integrated asset – assets that ship with the editor (checkpoints, coin, star, ruby…), with optional colour tints; checkpoints can be set to start / finish / default. Handy starting points, especially for scavenger hunts.
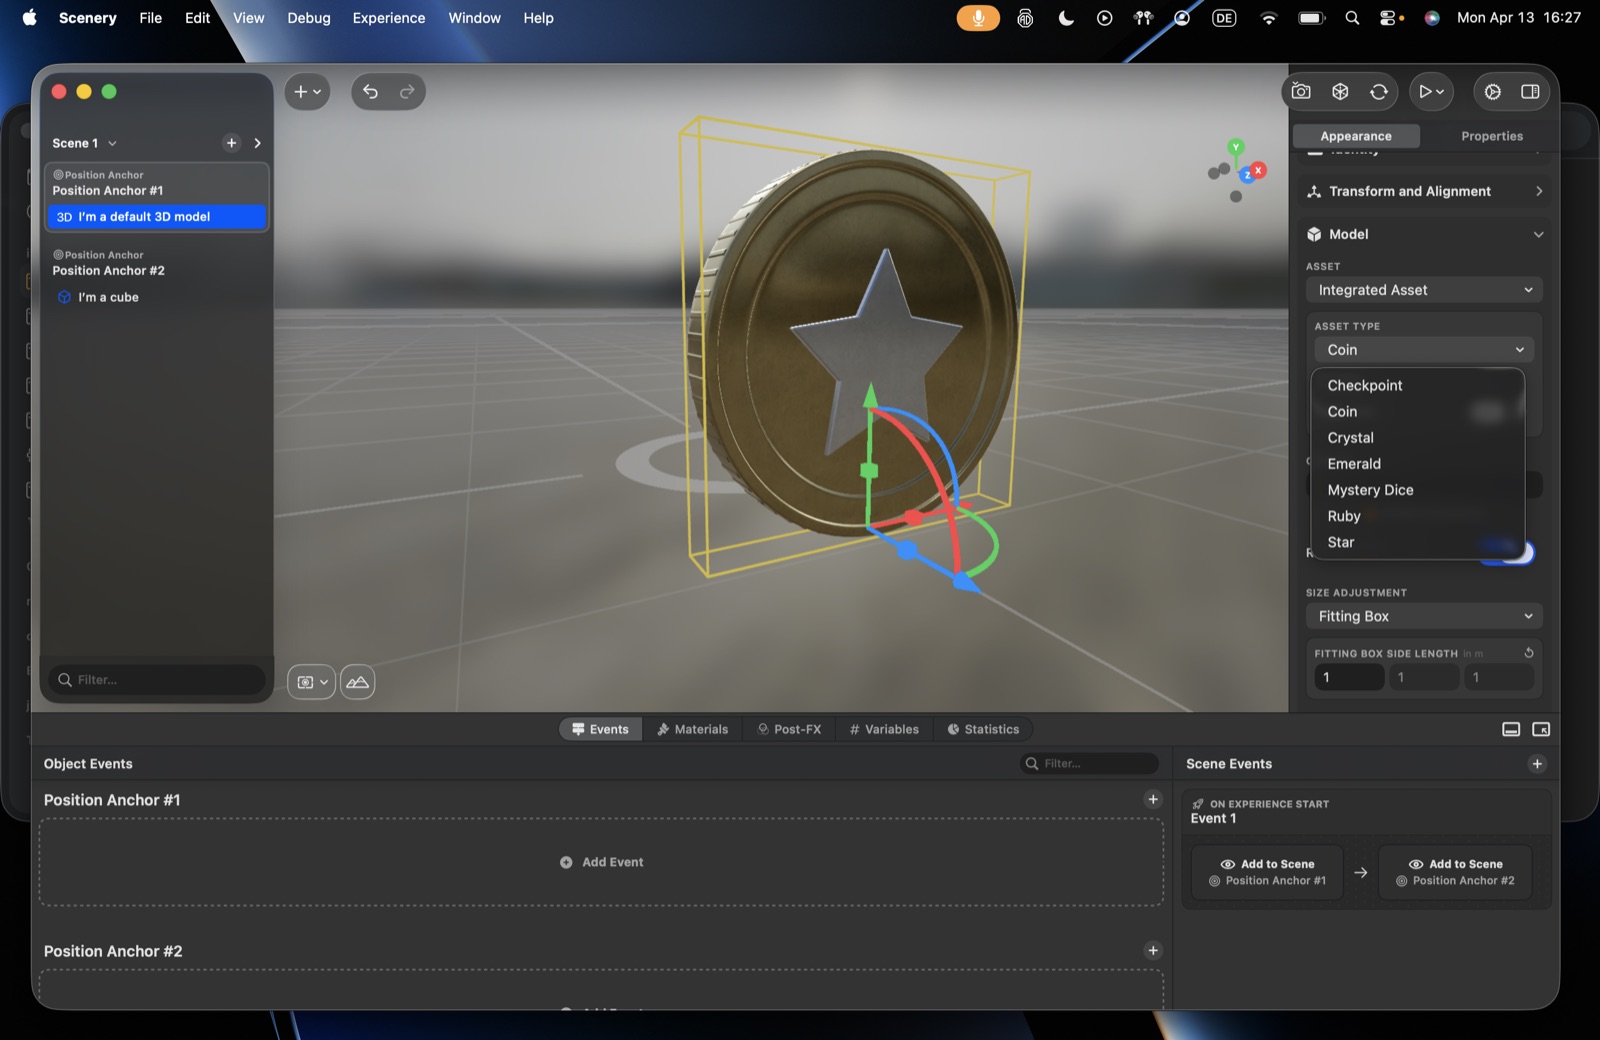 Choosing the content kind – here an Integrated Asset and its built-in list.
Use USDZ for 3D
Scenery runs natively on Apple platforms and the WebXR viewer, all using USDZ. Prepare models, ShaderGraph materials, and particle systems in Reality Composer Pro and export as USDZ – one format that runs everywhere.
Media
An image or a video.
- Image – PNG (with transparency) or JPEG.
- Video comes in a few flavours:
- Standard video (MP4 / MOV) – a flat rectangular screen.
- Spatial (stereoscopic) video – a different image per eye for depth; the depth shows on headsets (it plays normally on mobile).
- Transparent video – alpha-channel video (MOV, HEVC / H.265). Pairs beautifully with the Billboard alignment constraint for a character that always faces the user and reads as 3D.
- HTTP Live Streaming (HLS) ProPart of the Pro plan and up – stream large or high-res video from a URL instead of uploading it (via manual input, below).
- Immersive video ProPart of the Pro plan and up – 180°, 360°, and wide field-of-view video, plus Apple Immersive Video. On Apple Vision Pro these wrap around the viewer – a 360° clip surrounds you completely, 180° fills your forward view, and Apple Immersive Video places you inside the scene. Scenery recognizes an immersive source automatically and plays it natively. These files are very large, so Scenery does not host, stream, or accept uploads of them – you host the video on your own server (a service like SpatialGen can do this) and point at it via manual URL input (below). (currently Apple Vision Pro only)
Making a transparent video
Only HEVC with an alpha channel, in a .mov, keeps its transparency – an ordinary MP4 export always arrives with a solid background, and most tools do not offer the right format directly. Transparent Video has the export recipe and what to check when the background isn't see-through.
For an immersive video to actually surround you, set the Scene's immersion to Full or Progressive in Scene Settings – otherwise it plays in a portal alongside your real surroundings, rather than wrapping around you. Either way, your other objects still render in front of the video – you can place models, primitives, and interface over it, even in full immersion. You can also switch immersion mid-experience with the Set Immersion Mode action – for example, run it to enter Full immersion just before the video is displayed, instead of setting the Scene's immersion up front.
On devices other than Apple Vision Pro an immersive video plays as a flat screen. To tailor that, use a Conditional Logic action with a Platform Is check – for example, display the immersive object on Apple Vision Pro and a standard flat video everywhere else.
Media-specific options (in the object's Appearance → Model section): Shows Loading-Placeholder (a placeholder while a large asset loads), Autoplays and Loops (video only), Renders Double Sided (also draw the back face), Renders Immersively (blends the media softly into the surrounding space – especially nice with spatial video), a Corner Radius (rounds the media's corners, when not rendering immersively), and Volume for a video's audio.
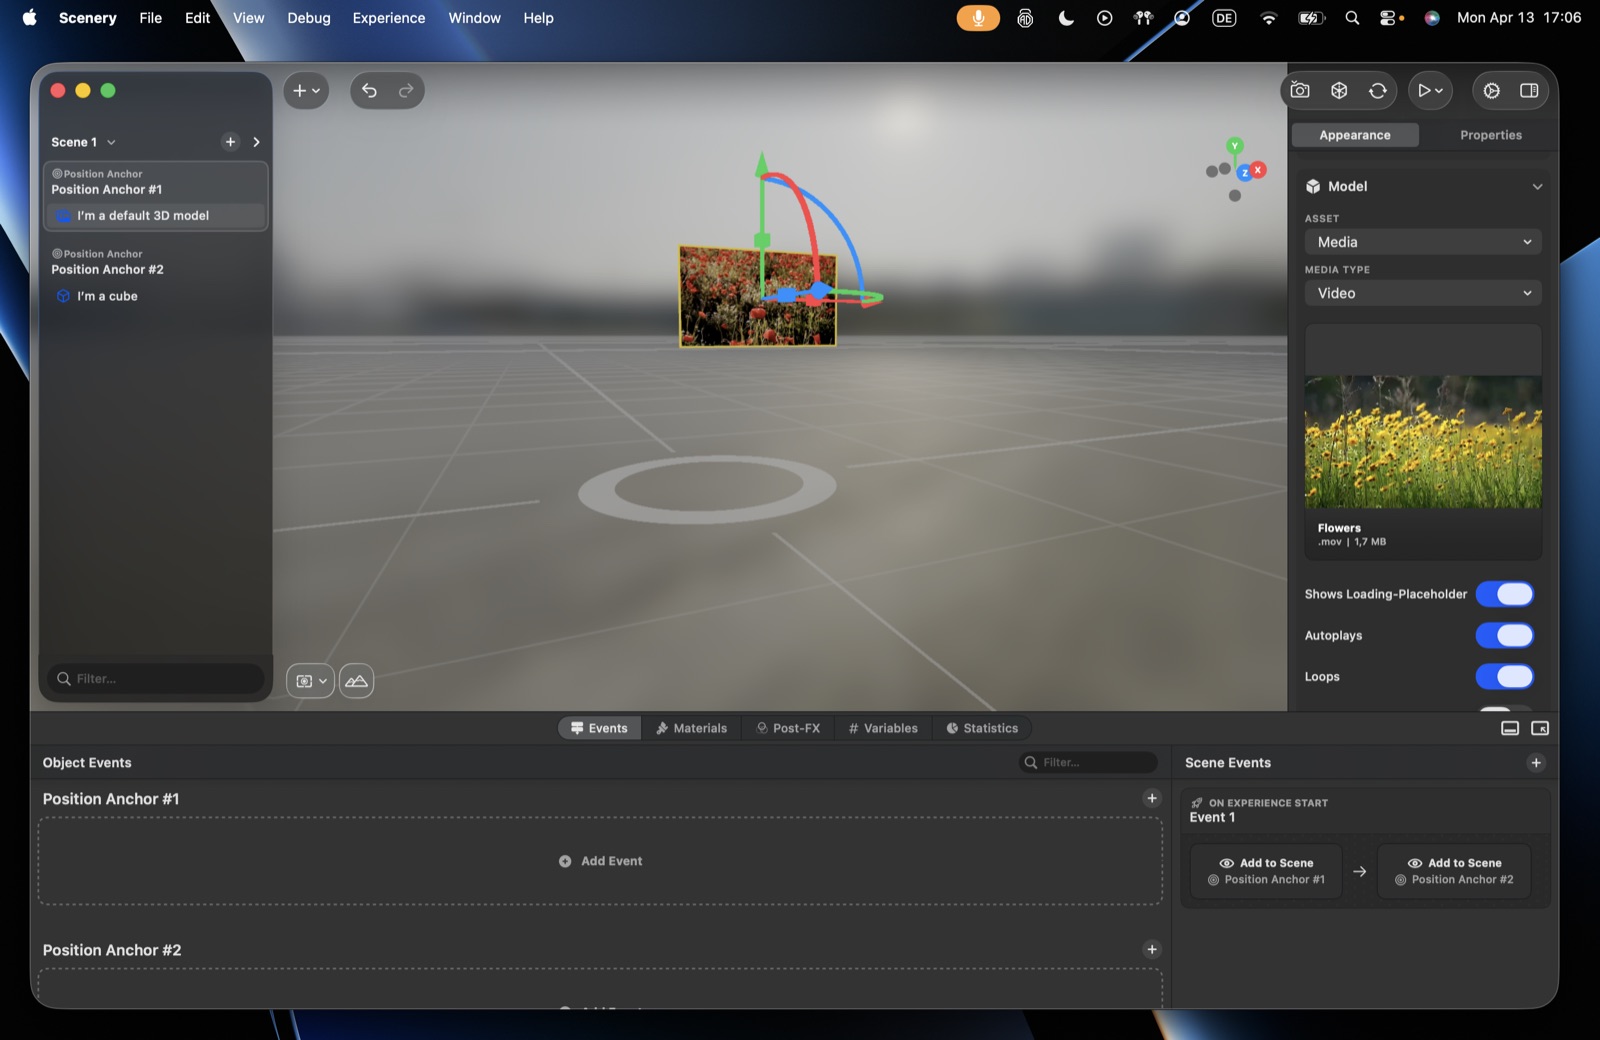 Media options on a video object.
Load assets from your own URL
ProPart of the Pro plan and up Right-click an asset field → manual input to point at an asset URL on your own server. The asset is fetched at runtime (never uploaded to Scenery), sidestepping upload size limits and keeping confidential assets off our servers. The same works for HLS streams. (Note: file-sharing services like Drive/Dropbox block this by default; self-hosting works.)Keep experiences small
Everything in an experience downloads on first open (then caches). Aim for a small total – roughly 30–50 MB for App Clip-delivered mobile experiences. For big or high-res video, prefer an HLS stream or a manual asset URL over uploading.
Gaussian Splat Beta
A scanned capture of a real object or place – captured with a phone or a scanner, and stored as hundreds of thousands of tiny coloured blobs rather than as a mesh. Captures look photographic where a hand-made model would look modelled, and they carry the lighting of the moment they were scanned.
Bring one in as an SPZ file from the asset library, then place and anchor it like any other object. A capture's own options sit in its Gaussian Splat section:
- Projection – how each splat is flattened to the screen. Tangential is cheaper, but bends straight edges.
- Sorting – the order splats are blended in. Distance stays steadier as the viewer turns, at some cost.
- Opacity Threshold – drops the faintest splats when the capture loads, from 0 to 1. Zero keeps every one.
Starting from a PLY
Most capture and training tools write PLY, the format scans are trained and archived in. The asset library takes SPZ, which holds the same capture at roughly a tenth of the size – worth having when a capture crosses a network before it renders. Scaniverse writes SPZ directly, so a capture made there needs no conversion; anything else converts in a step:
- SuperSplat Convert – superspl.at/convert runs in the browser and keeps the file on your machine. It can also decimate a capture, merging similar splats to bring a large scan under the per-capture limit.
- SplatTransform – the same conversion as a command line tool, for batches:
npm install -g @playcanvas/splat-transform.
Either version of SPZ works, so whichever a converter writes by default can be uploaded as it is.
Trim the haze first
A capture's cost is mostly driven by how much of the screen its blobs cover rather than by how many there are, so dropping the faintest ones is often the cheapest way to lighten a heavy capture. How much of a capture is haze varies from scan to scan, which is why it is a control rather than a fixed value.
A scene can hold up to eight captures, and a single capture can hold up to 400,000 splats on Apple Vision Pro. The limit is higher on other systems, but the one that applies is the one on the device an experience is opened on. A capture above it still appears there, thinned to the limit by dropping its faintest and smallest splats first, so nothing is ever missing – though which splats survive is then chosen for you rather than by you. Captures need iOS 27, iPadOS 27, macOS 27 or visionOS 27 – on an earlier system the editor shows a placeholder in the capture's place, and an experience viewed there shows nothing.
Renditions
Rather than let a headset thin a capture on its own, you can attach a rendition – the same capture, reduced yourself in one of the tools above, stored alongside the original. Each device then downloads whichever version fits what it can draw, so a Mac gets the full capture and Apple Vision Pro gets the smaller one.
Renditions are managed in the asset library. Select the capture, choose Alternate Files, and use Add Rendition in the sheet that opens. Each row shows the splat count and file size, marked with the devices that would download it, so you can see at a glance whether a headset is covered.
A rendition has to be genuinely smaller than the capture it stands in for, and its splat count is read from the file rather than typed, so the number a device compares against is always the file's own. Replacing the capture itself clears its renditions, since they would otherwise describe a different scan.
Two reductions, one goal
The Opacity Threshold above drops faint splats on every device. A rendition replaces the whole file on devices that need a smaller one. They combine, and a capture that reads well after trimming haze often needs a much gentler rendition.
Splat captures are currently in beta testing, so the option appears in beta builds of the editor rather than the App Store release. contact us to join the beta.
User Interface Beta
Build an interactive interface panel – buttons, labels, images, and other controls laid out in 2D, placed in the scene or pinned as a Screen Space overlay. Available with the UI-authoring entitlement, a select-access beta feature – contact us to join the beta.
Portal ProPart of the Pro plan and up
A portal world – a framed window into a self-contained little world that the user looks through, and can step into. You build the world inside the portal: add objects to it like any container, and give it its own environment. It's grouped under the object's Portal World section.
Portal-specific options:
- Background – a surrounding environment for the world, from an image or video, projected as Equirectangular or Cubemap (the two common 360° layouts).
- Lighting – the portal world's own environment lighting, independent of the main scene.
- Object Crossing – let the world's contents reach out through a chosen boundary – Front, Back, Left, Right, Top, or Bottom (or Disabled) – so an object can break the frame and poke into the room.
- Object Clipping – clip the contents at a chosen plane (same options), to keep the world neatly bounded by the portal opening.
Placing what you add
New content appears at the scene origin (where the axes meet). Move it with the gizmo by dragging an axis handle – X (red), Y (green), or Z (blue) – or type exact values in the object's transform.
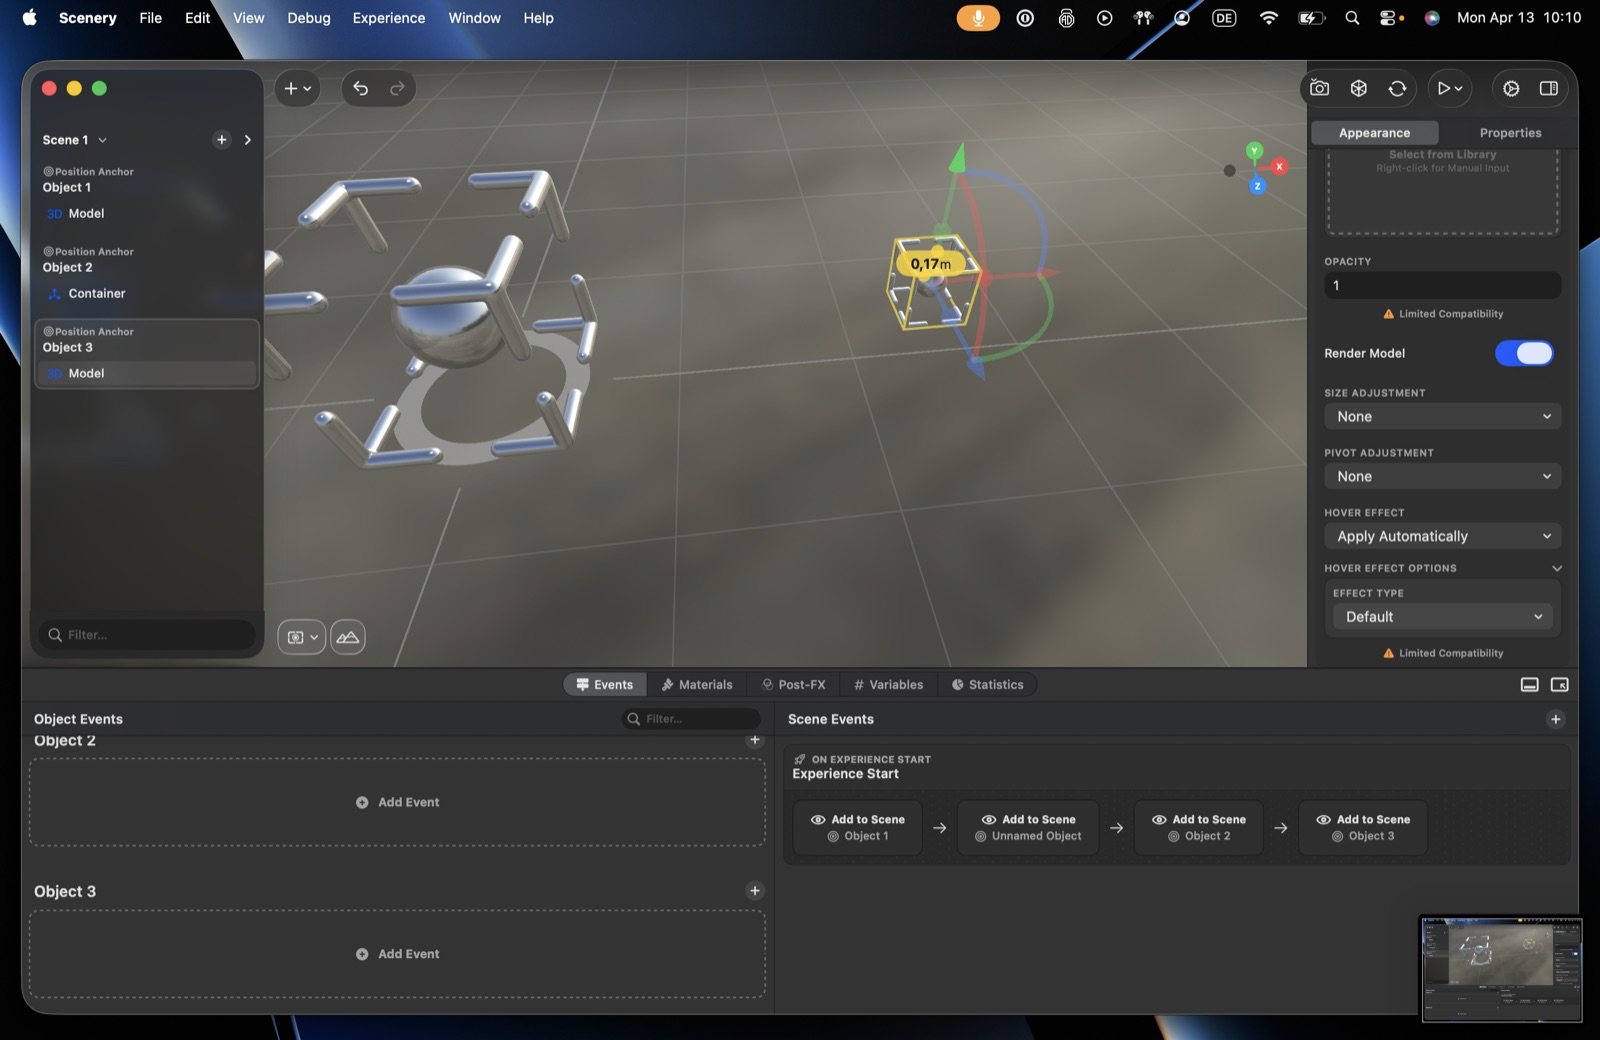 Moving an object with the gizmo's X / Y / Z handles.